
 Bookmark
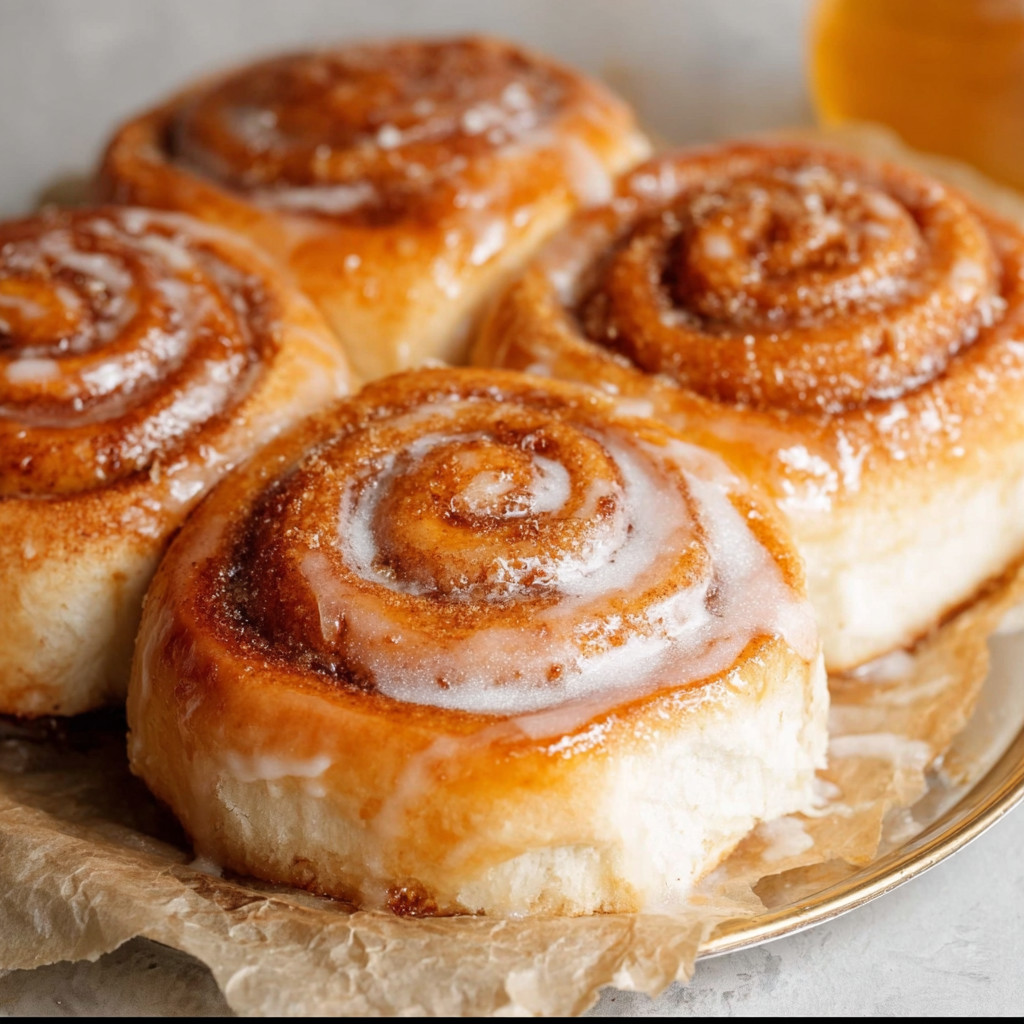
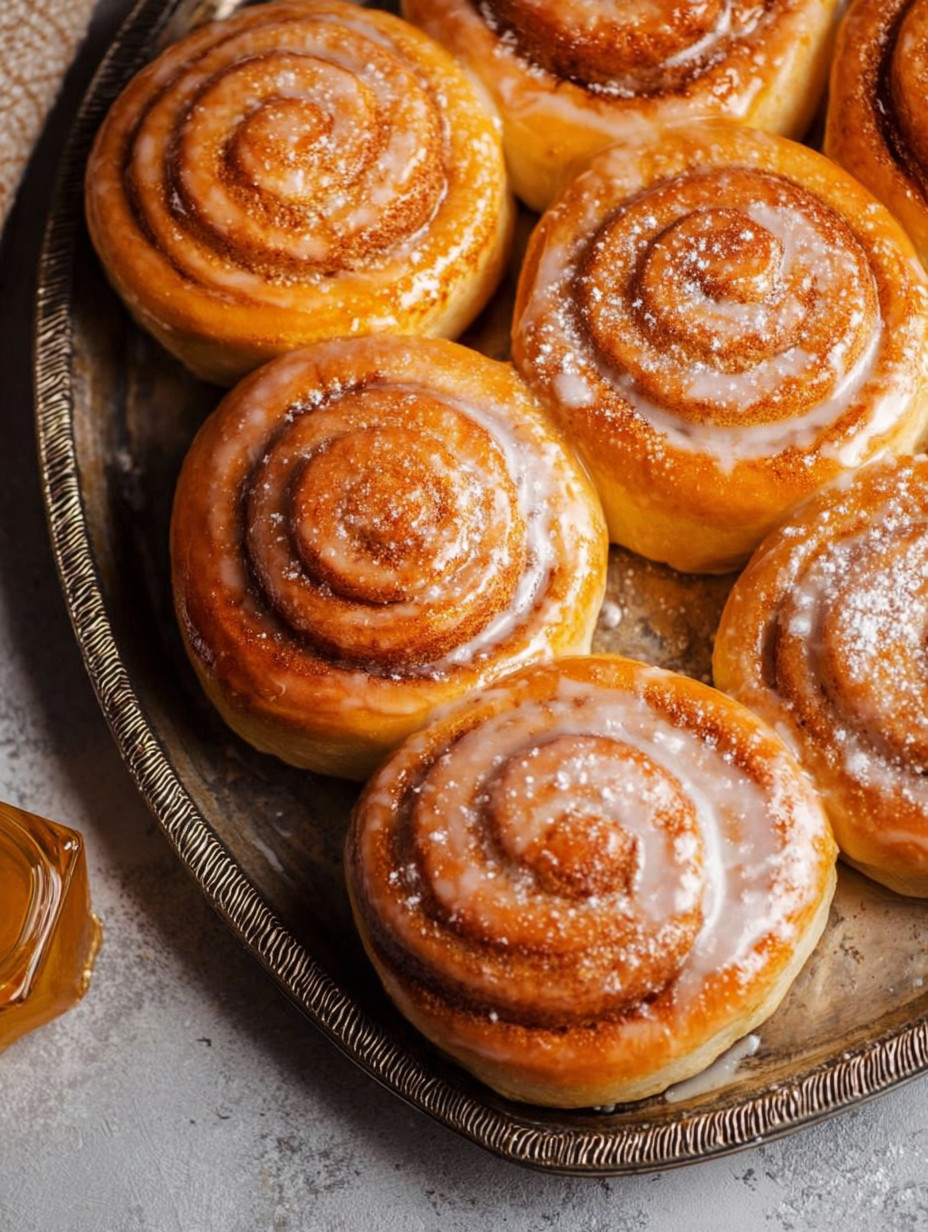
These Classic Homemade Honey Buns are soft, fluffy, and glazed with the perfect touch of sweetness. They bring that nostalgic feeling of cozy mornings straight to your kitchen with every bite melting in your mouth, filled with warm cinnamon swirls and a sticky honey glaze. Making them from scratch elevates the comforting experience far beyond any store-bought version, mixing familiar flavors with a fresh, wholesome appeal. Whether you're planning a special brunch or a lazy weekend treat, these honey buns bring joy and satisfaction with their tender texture and golden glow.
These honey buns have been a hit at family breakfasts ever since I whipped up my first batch. The house filled with the scent of cinnamon and honey instantly brings back comforting memories, and now everyone asks for them regularly.
Ingredients
- All-purpose flour: Provides the structure and base for a soft, fluffy dough, choose unbleached flour for better flavor and texture
- Whole milk: Adds richness and moisture, helping achieve a tender crumb, use whole milk for best results
- Active dry yeast: Responsible for the dough rising and becoming fluffy, ensure your yeast is fresh and active
- Granulated sugar: Sweetens the dough to balance the glaze, use fine sugar for better mixing
- Salt: Enhances overall flavor and strengthens the gluten network in the dough
- Eggs: Bind the ingredients together and add moisture and richness
- Unsalted butter: Adds softness, flavor, and richness both in the dough and the filling, go for high-quality butter when possible
- Ground cinnamon: Key for the warm, classic cinnamon swirl flavor inside
- Honey: Used in the glaze to give the buns their signature sticky and sweet finish, opt for raw or mild honey
- Powdered sugar: Mixes easily with a splash of milk or water to create a smooth, sweet icing that complements the honey glaze
Step-by-Step Instructions
- Make the Dough:
- Warm the milk gently until lukewarm, then combine it with the sugar and yeast. Let this mixture rest for 5 to 10 minutes until it becomes bubbly. This signals that the yeast is alive and ready to work. Stir in melted butter, eggs, and salt. Gradually add the flour while mixing until a soft, slightly tacky dough forms.
- Knead and Let Rise:
- Using a stand mixer fitted with a dough hook, knead the dough for about 5 to 6 minutes until it is smooth and elastic. If kneading by hand, it may take around 10 minutes. Transfer the dough to a lightly greased bowl, cover with a clean kitchen towel, and set it in a warm spot to rise for one hour or until the dough has doubled in size.
- Roll and Fill:
- Lightly flour a clean surface and roll the dough into a large rectangle roughly a quarter inch thick. Brush the dough evenly with melted butter, then generously sprinkle a cinnamon and sugar mixture over the top. Starting at one long edge, roll the dough up tightly into a log shape and pinch the seam to seal.
- Second Rise:
- Slice the rolled log into 1-inch thick buns using a sharp knife or unflavored dental floss for clean cuts. Place the slices on a parchment-lined baking sheet with some space between them. Cover with a towel and let them rise again for 30 minutes until they puff up nicely.
- Bake to Golden Perfection:
- Preheat the oven to 350 degrees Fahrenheit or 175 degrees Celsius. Bake the buns for 15 to 18 minutes until they turn a beautiful golden brown and smell irresistibly fragrant.
- Glaze It Up:
- While the buns are still warm, whisk together honey, powdered sugar, and a small splash of milk to create a smooth, glossy glaze. Pour this glaze generously over each bun and allow it to set slightly before serving.
 Bookmark
My favorite ingredient is the honey glaze which transforms these buns from simple rolls into a sticky, sweet delight that keeps everyone coming back for more. Baking these buns always brings fond memories of family breakfasts and weekend gatherings where the aroma fills the kitchen and hearts grow warm.
Storage Tips
Store cooled honey buns in an airtight container at room temperature for up to three days to maintain softness. For longer storage, wrap each bun individually and freeze for up to two months. To enjoy later, thaw them at room temperature and warm briefly in the microwave or toaster oven. This helps retain their fresh-baked charm and gooey glaze.
Ingredient Substitutions
If you do not have honey for the glaze, maple syrup or agave syrup are excellent alternatives that offer a slightly different but equally delicious sweetness. Whole milk can be swapped for any dairy or non-dairy milk, but keep in mind this may slightly affect softness. For a richer flavor, you can use brown sugar instead of granulated sugar in the dough and filling.
Serving Suggestions
Serve your honey buns warm straight from the oven or reheated for breakfast or brunch. They pair wonderfully with a cup of coffee, creamy milk, or a fruity tea. For a lunchtime twist, enjoy one alongside savory foods as a sweet contrast. These buns also make a charming addition to any breakfast spread or holiday brunch.
Common Recipe Questions
- → How long do honey buns stay fresh?
Honey buns stay fresh for about 3 days when kept in an airtight container at room temperature.
- → Can the dough be prepared ahead of time?
Yes, after the first rise, refrigerate the dough overnight and proceed the next day for convenience.
- → Is it possible to skip the glaze?
While the glaze adds signature sweetness and stickiness, you can omit it or replace with a simple icing as preferred.
- → Can these buns be made without a stand mixer?
Absolutely. Kneading by hand for about 10 minutes until smooth and elastic works just as well.
- → Why might my dough not be rising properly?
Check that your yeast is active and that the milk is warm but not hot, as incorrect temperatures can hinder rising.
- → What can be used instead of honey for the glaze?
Maple syrup or agave syrup offer good alternatives, providing different but complementary flavors.