
 Bookmark
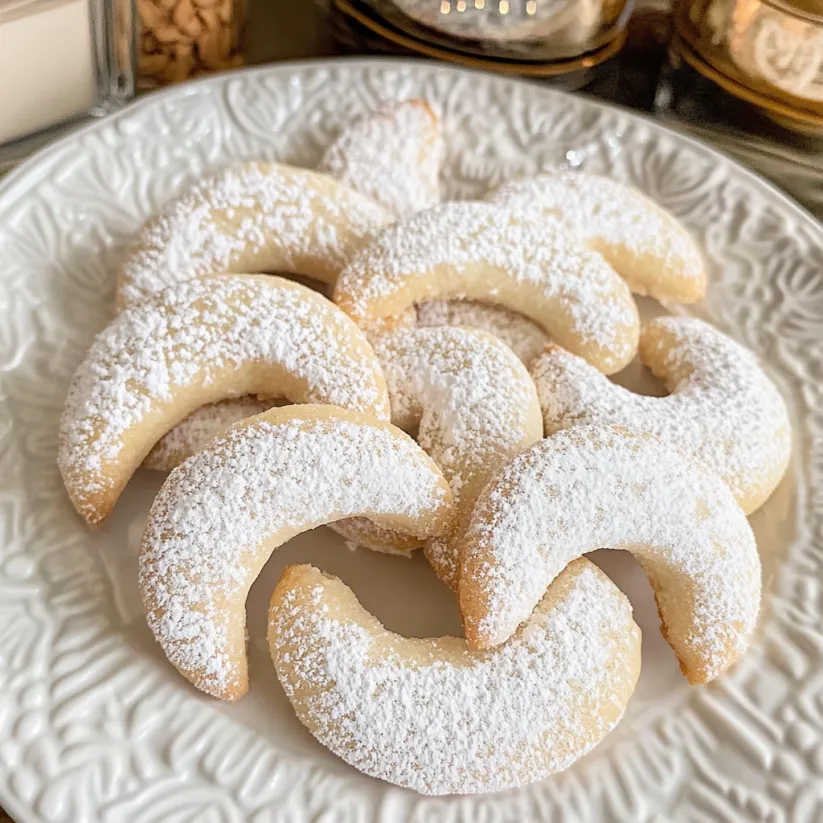
This nutty recipe for Almond Crescent Cookies is a nostalgic holiday recipe made with a healthy plant-based twist. These soft, crumbly cookies combine the richness of almond flour and almond butter with a bright hint of fresh orange flavor, creating a perfect balance of texture and taste that will transport you back to holiday memories while keeping things wholesome.
I first made these cookies when trying to recreate my grandmother's classic holiday crescents without all the refined ingredients. After one bite, my entire family couldn't believe they were made with healthier components, and now they're requested at every gathering regardless of season.
Ingredients
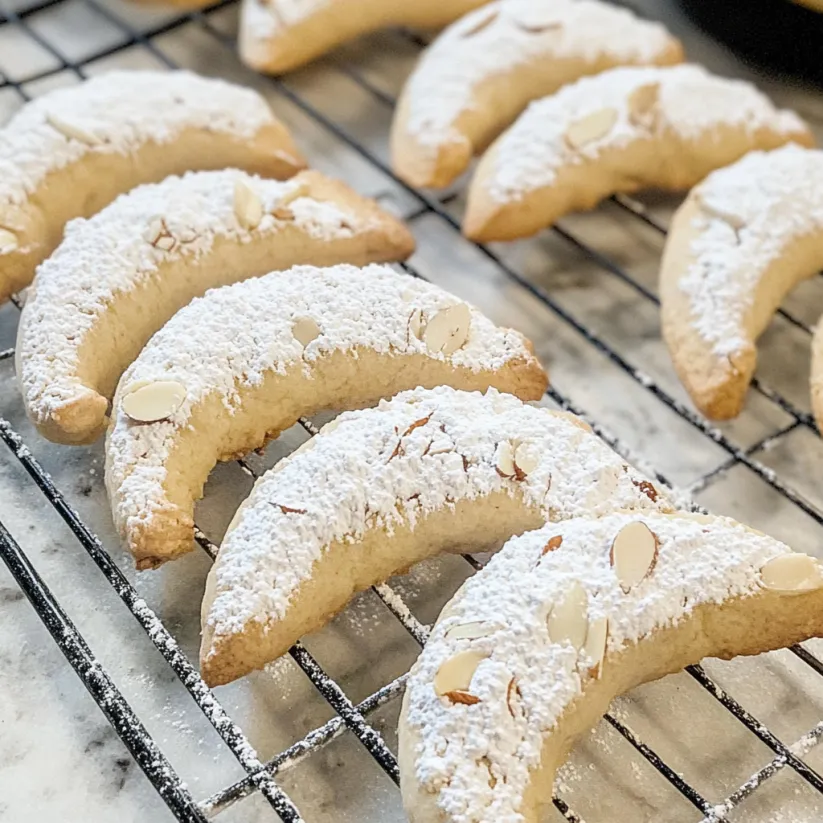
- Almond flour: Forms the base of these cookies providing a naturally sweet flavor and tender crumbly texture while keeping these cookies gluten free
- White almond butter: Acts as a binder and adds richness without needing traditional butter or oils
- Maple syrup: Brings natural sweetness that complements the nutty flavors much better than processed sugars would
- Vanilla powder: Infuses a warm aromatic quality throughout both the cookie and the sugar coating
- Fresh orange zest: Brightens the entire cookie with subtle citrus notes that wake up all the other flavors
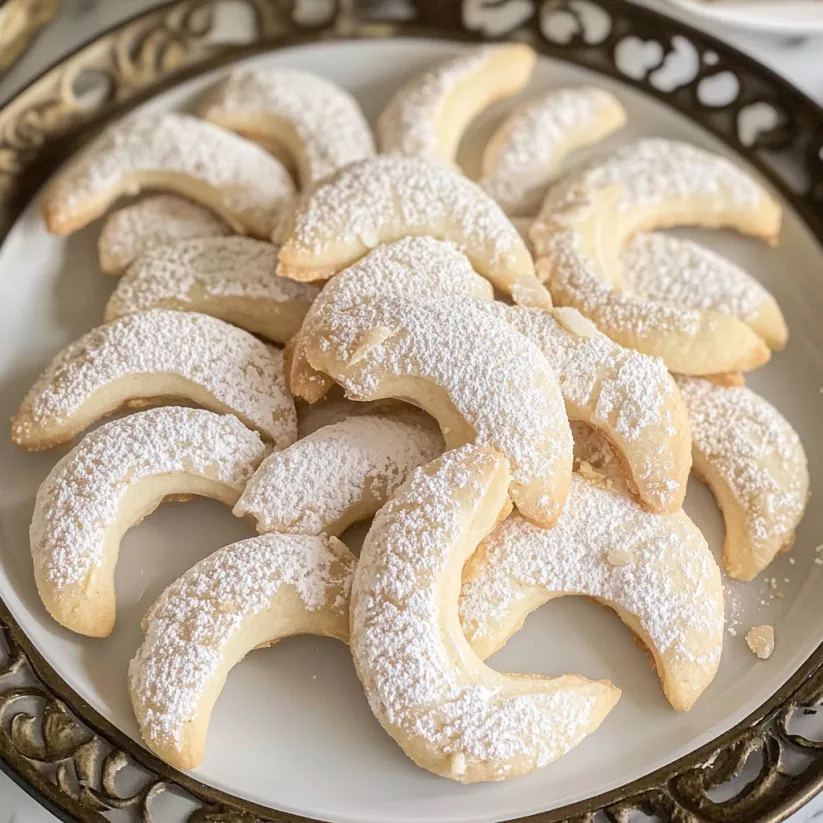
- Powdered sugar: Creates that classic snowy coating that makes these crescents instantly recognizable on any cookie plate
Step-by-Step Instructions
- Prepare Your Oven:
- Preheat your oven to a moderate 320F (160C). This slightly lower temperature ensures the cookies bake gently and don't brown too quickly, preserving their delicate texture and allowing them to cook through evenly without becoming too crisp.
- Create Your Workspace:
- Line a baking sheet with parchment paper to prevent sticking and make cleanup easier. The light color of parchment paper also helps prevent the cookie bottoms from browning too quickly.
- Mix The Dough:
- Combine the almond flour, almond butter, maple syrup, vanilla powder, and orange zest in a small bowl. Mix thoroughly until everything is well incorporated and forms a soft, slightly sticky dough. Take your time with this step to ensure all ingredients are evenly distributed for consistent flavor throughout each cookie.
- Shape Your Crescents:
- Divide the dough into 14 equal portions for uniformity. Roll each portion between your palms to create small cylinders with slightly tapered ends. The warmth of your hands helps the oils in the dough activate, making it more pliable. Gently curve each cylinder into a crescent shape. If the dough feels crumbly, warm it longer in your hands before shaping as this activates the natural oils.
- Bake To Perfection:
- Place your shaped crescents on the prepared baking sheet. Since these cookies contain no leavening agents, they won't spread during baking, so you can place them fairly close together. Bake for 10-12 minutes, watching carefully toward the end. The perfect cookie will have just slightly golden edges while the body remains pale. This ensures they maintain their coveted soft, melt in your mouth texture.
- Create The Sweet Coating:
- While cookies are cooling but still warm (about 5 minutes after removing from oven), mix powdered sugar with vanilla powder in a small bowl. The warmth of the cookies helps the sugar coating adhere perfectly while highlighting the vanilla flavor.
- Apply The Finishing Touch:
- Gently roll each warm cookie in the vanilla sugar mixture until fully coated. This creates that classic snowy appearance that makes these cookies so visually appealing while adding a sweet contrast to the nutty cookie base.
 Bookmark
My absolute favorite part of this recipe is the orange zest, which was inspired by my great aunt's secret ingredient in her traditional version. The first time I included it, my mother closed her eyes and said it transported her right back to childhood holiday gatherings. Something so simple yet so powerful in triggering those cherished food memories.
Perfect Texture Secrets
The key to achieving that melt in your mouth texture is being careful not to overbake these delicate cookies. When you see just the slightest hint of golden color at the edges and tips of the crescents, they're ready to come out of the oven. They might seem slightly underdone, but they will continue cooking from residual heat and firm up as they cool. This ensures they retain that perfect balance between crumbly and tender that makes traditional crescent cookies so irresistible.
 Bookmark
Make-Ahead Magic
These cookies are perfect for preparing in advance, which makes them ideal for busy holiday seasons. The dough can be made up to three days ahead and stored tightly wrapped in the refrigerator. You can even shape the crescents and freeze them unbaked on a baking sheet, then transfer to a freezer bag once solid. When ready to bake, simply place the frozen crescents directly on your baking sheet and add just 2-3 minutes to the baking time. This way, you can have freshly baked cookies with minimal effort whenever guests arrive.
Flavor Variations
While the classic recipe is absolutely divine, you can easily customize these crescents to create different flavor profiles. Try adding a quarter teaspoon of ground cardamom for a Swedish-inspired version, or replace the orange zest with lemon for a brighter citrus note. For chocolate lovers, fold in some finely chopped dark chocolate or add a tablespoon of cocoa powder to the dough. During fall, a pinch of cinnamon and nutmeg transforms these into the perfect seasonal treat to accompany a mug of hot apple cider.
The Historical Connection
Crescent cookies have a rich history dating back centuries across Europe, particularly in Austria where they're known as kipferl. Their crescent shape is said to commemorate the victory over the Ottoman Empire, whose symbol was the crescent moon. Traditional versions were made with ground nuts long before wheat flour became common, so this almond flour version actually harkens back to the original recipes more than many modern interpretations. By enjoying these cookies, you're participating in a culinary tradition that spans generations and cultures.
Common Recipe Questions
- → How do I prevent the dough from crumbling when shaping?
Warm the dough between your hands before shaping to make it more pliable. It's normal for the dough to be slightly oily due to the natural oils in almond butter and flour.
- → How do I know when the cookies are properly baked?
Bake until just the edges begin to turn golden while the cookies remain mostly pale. Watch carefully as overbaking will make them too hard and ruin their soft texture.
- → Can I substitute the almond butter?
Yes, cashew butter works as an excellent substitute for the white almond butter in this recipe.
- → How long do these cookies stay fresh?
Store in an airtight container at room temperature for up to a week, or freeze for up to a month. If the vanilla sugar gets absorbed after a few days, simply sprinkle more powdered sugar on top.
- → Are these cookies suitable for special diets?
Yes, these cookies are both gluten-free and vegan, making them suitable for people with gluten sensitivities or those following plant-based diets.
- → Can I add other flavors to these cookies?
While the orange zest provides a lovely flavor, you could experiment with lemon zest, a touch of cinnamon, or almond extract for different variations.