
 Bookmark
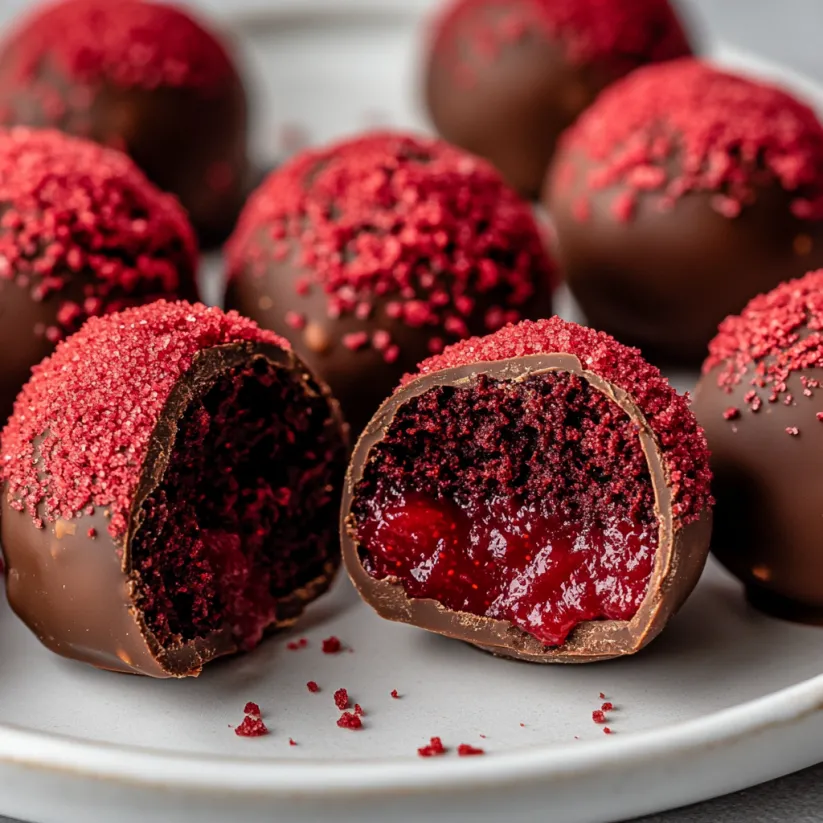
Each bite of a red velvet truffle tells a tale of pure indulgence. I first found these treats at a small bakery in downtown Chicago. The rich crimson color and velvety texture won my heart. Red velvet truffles are more than desserts; they’re moments of joy that make any gathering special.
Understanding Red Velvet Truffles
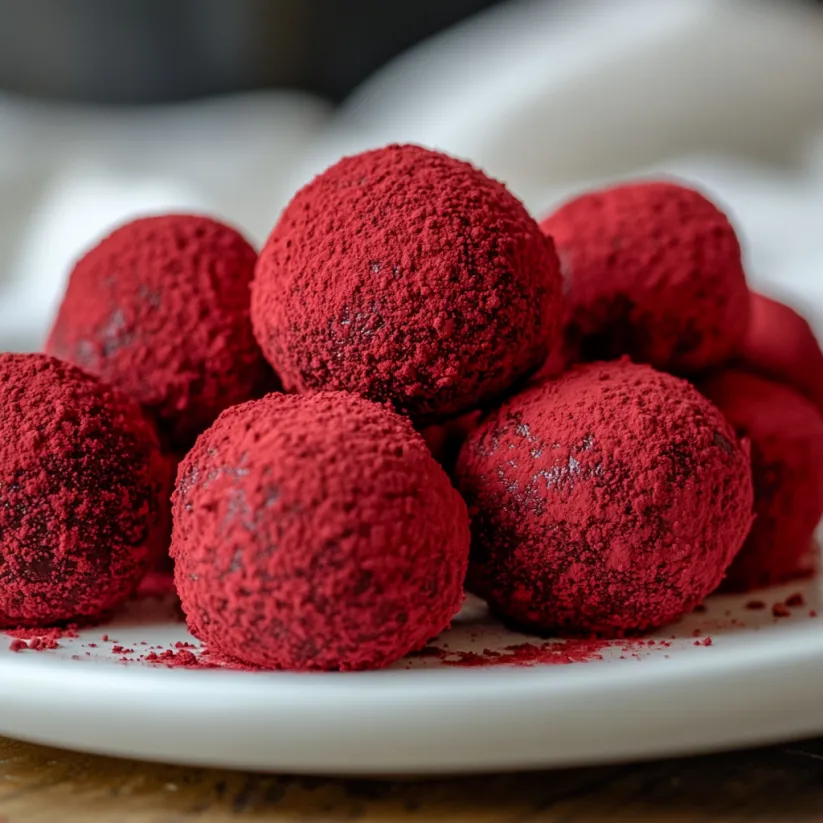
Red velvet truffles are a mix of rich chocolate and vibrant art. They turn a favorite cake into small, tasty treats. These truffles are a genuine treat for your taste buds.
Traditional Red Velvet Flavor Profile
The classic red velvet taste has a few key parts:
History and Evolution
Red velvet desserts started in the early 1900s. Southern bakeries made them famous. The red color came from cocoa powder and buttermilk, creating a unique look.
Modern Interpretations
Today, bakers make red velvet into many things. They create truffle balls and cake pops. Chefs try new things like:
Essential Ingredients for Perfect Red Velvet Truffles
Making delicious red velvet truffles starts with picking the right ingredients. Your journey to rich flavors begins with understanding the key components. These elements transform simple ingredients into an extraordinary dessert.
Core Ingredients
- All-purpose flour: Provides structure
- Granulated sugar: Adds sweetness
- High-quality cocoa powder: Adds depth
- Red food coloring: Gives signature color
- Cream cheese: Gives creamy texture
Flavor Enhancers
- Pure vanilla extract: Enhances flavor
- Buttermilk: Adds tang and moisture
- Unsalted butter: Adds richness
Kitchen Tools and Equipment Needed
Making tasty homemade candies like red velvet truffles needs the right tools. Having the right utensils makes it easier. Let’s look at the essential tools for these sweet treats.
Essential Mixing Tools
- Large mixing bowls: For combining ingredients
- Electric hand mixer or stand mixer: For mixing batter
- Rubber spatulas: For scraping bowls
- Whisk: For blending ingredients
- Measuring cups and spoons: For accuracy
Baking Equipment
- Baking sheets: Non-stick surface recommended
- Parchment paper or silicone baking mats: For lining sheets
- Cooling rack: For finished truffles
- Cake pan: 9×13 inches recommended
- Oven mitts: For safety
Decorating Supplies
- Piping bags: For decorative details
- Chocolate melting tools: For even coating
- Dipping forks: For coating truffles
- Decorative sprinkles: For added flair
- Candy coating melting wafers: For easy coating
Step-by-Step Preparation Process
- Cake Base Preparation:
- Bake a standard red velvet cake at 350°F. Cool completely for 10 minutes in pan. Allow cake to reach room temperature.
- Cake Crumbling Technique:
- Crumble cake into fine, even pieces. Ensure no large cake chunks remain. Use clean hands or fork for consistent texture.
- Mixing Filling:
- Add 8 oz cream cheese. Mix until smooth consistency. Create uniform dessert balls mixture.
- Shaping Dessert Balls:
- Roll mixture into 1-1/2 inch diameter balls. Place on parchment-lined baking sheet. Refrigerate for 1 hour to firm.
- Chocolate Coating:
- Melt dark chocolate. Dip chilled dessert balls. Allow excess chocolate to drip. Place on cooling rack.
 Bookmark
Tips for Making the Perfect Cake Base
Making the perfect cake base is key for tasty valentine’s day treats like red velvet truffles. You need to master a few important techniques. These will turn an ordinary cake into a special truffle treat.
 Bookmark
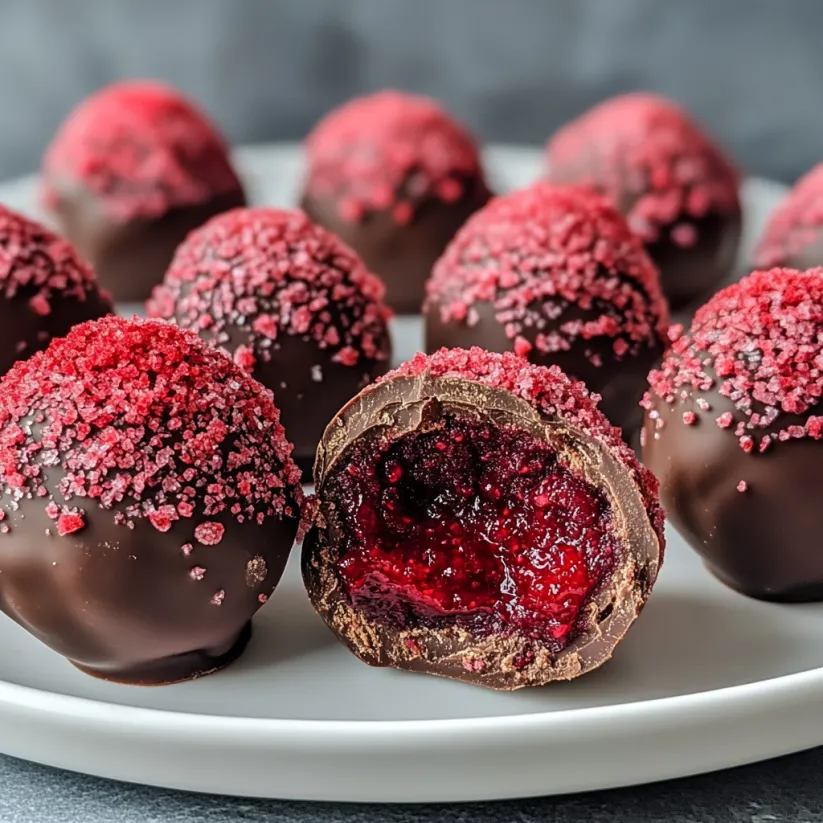
Coating and Decoration Techniques
Making stunning chocolate truffles is more than just mixing ingredients. Your red velvet truffles need beautiful coatings to look amazing. The right decoration can make these treats unforgettable.
Storage and Shelf Life Guidelines
Keeping your homemade candies fresh is key. Knowing how to store your red velvet truffles right is important. It helps keep their amazing taste and texture for longer.
Creative Variations and Flavor Combinations
Turn your red velvet truffles into gourmet treats by trying new flavors. The classic red velvet recipe is a great base for creativity. It lets you mix rich flavors that will excite your taste buds.
Serving Suggestions and Presentation Ideas
Make your red velvet truffles stand out with creative presentation. They can turn any event into a special moment. The right way to serve and display them is key.
Conclusion
Making red velvet truffles is more than a fun cooking project. It’s a chance to create treats that make everyone happy. Your homemade truffles mix rich taste with beautiful looks, turning a simple dessert into something special.
Common Recipe Questions
- → What type of cocoa powder works best?
Use high-quality unsweetened cocoa powder to achieve a deep, rich flavor that balances the sweetness of the truffles.
- → Can I make red velvet truffles ahead of time?
Yes, you can prepare them in advance. Store in an airtight container in the fridge for up to two weeks or freeze for longer shelf life.
- → How do I achieve the smoothest texture for the filling?
Use full-fat cream cheese at room temperature and blend thoroughly with the cake crumbs until smooth and uniform.
- → What's the best way to coat the truffles?
Chill the rolled truffles first, then dip in melted chocolate using a fork. Let the excess drip off for a clean finish.
- → Are there creative variations I can try?
Yes! Add espresso powder, citrus zest, or flavored liqueurs for a twist. You can also experiment with white chocolate coatings or decorative toppings.
- → How should I present red velvet truffles?
Arrange on elegant trays, wrap in decorative boxes, or pair with drinks like espresso or champagne for a polished touch.