
 Bookmark
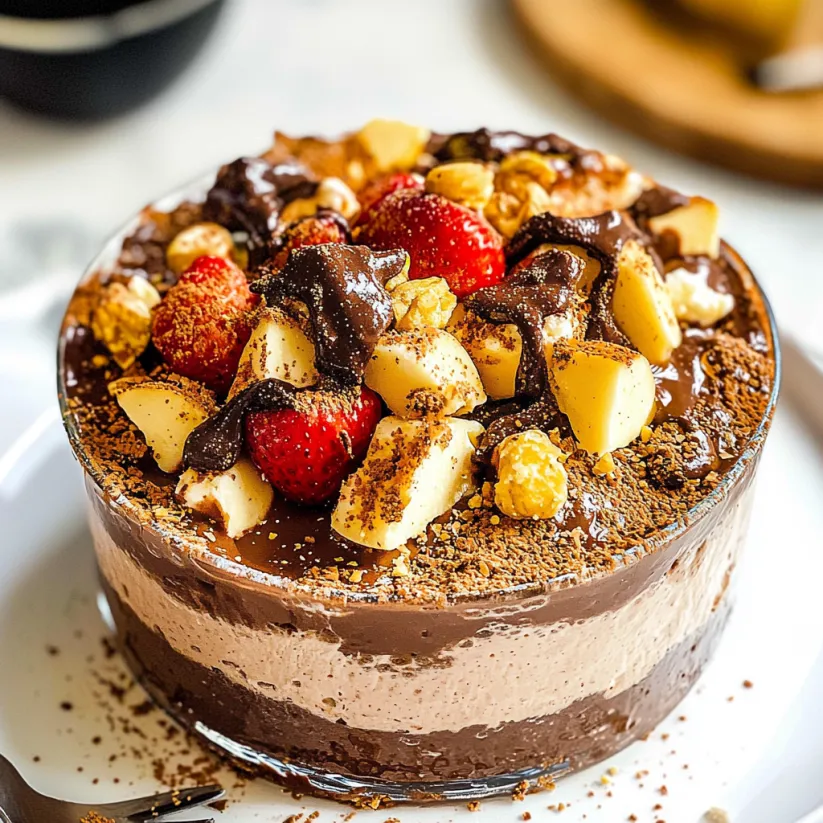
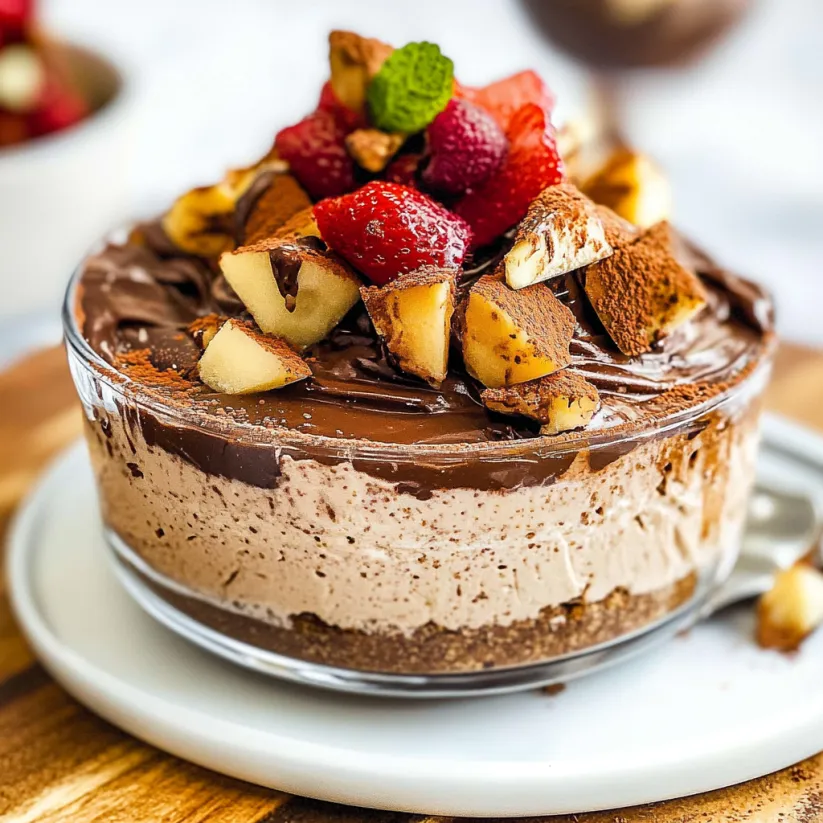
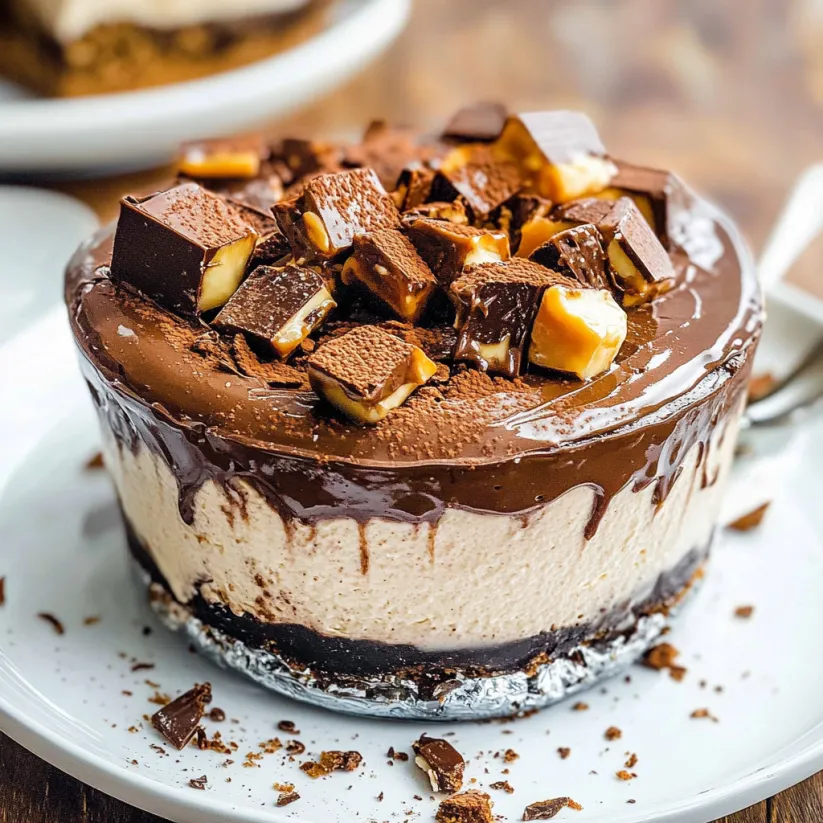
This No Bake Nutella Cheesecake has quickly become my favorite dessert for celebrations or just when I am craving something truly decadent. With a creamy Nutella filling and rich Oreo cookie crust layered in personal servings, it is a showstopper that comes together in minutes without even turning on the oven.
The first time I made this, I was in a hurry for a last minute weekend treat and could not believe how luxurious and simple it was. Now I get requests for it at family gatherings and it always disappears fast.
Ingredients
- Oreo cookies twelve count: gives the base rich cocoa flavor and crunch look for original variety for best results
- Butter melted: brings the crust together choose high quality unsalted for best flavor
- Cream cheese one eight ounce package: makes the cheesecake filling creamy and tangy let it come to room temperature for the smoothest texture
- Nutella two thirds cup: adds hazelnut chocolate richness use name brand for its perfect balance of flavor and silkiness
- Cool whip eight ounce tub: makes the filling airy and light regular or fat free both work well check for a smooth consistency when buying
- Optional Garnish more cool whip whipped topping: for a pillowy finish
- Hazelnuts roughly chopped: add nutty crunch toast for extra aroma if you like
- Chocolate shaved or grated: for a final flourish use a good quality bar for intense chocolate notes
Step-by-Step Instructions
- Make the crust:
- Place Oreo cookies including the cream into a sturdy ziploc bag seal well and use a rolling pin to thoroughly crush them into fine crumbs you should not see any big pieces This is a good time to take out any frustration Make sure the crumbs are even then stir them with melted butter until all are moistened Evenly press the mixture into the bottom of four individual serving dishes pressing down with fingers or the back of a spoon for a packed crust
- Prepare the Nutella cheesecake filling:
- In a large mixing bowl use a hand mixer to beat together the cream cheese and Nutella on medium speed Mix until completely smooth and shiny with no visible streaks of cream cheese This should take about two to three minutes Scrape down the sides as needed to ensure a perfectly blended mixture
- Fold in the cool whip:
- Add the cool whip to the Nutella cream cheese mixture Use the lowest mixer setting and blend until everything is fully incorporated and the mixture is light and uniform There should be no patches of white Remaining gentle keeps the mixture fluffy
- Divide and fill:
- Spoon or pipe the cheesecake mixture into the prepared dishes on top of the Oreo crust Fill evenly and smooth the tops gently for a polished look You can use a piping bag or a large zip bag with a corner cut off for neater layers
- Chill to set:
- Refrigerate the cheesecakes uncovered for at least two hours This allows the filling to firm and makes the texture luxuriously creamy Do not attempt to freeze to speed up the process as the texture will not set correctly
- Garnish and serve:
- Right before serving top each mini cheesecake with a swirl of cool whip sprinkle with chopped hazelnuts and finish with a dusting or shaving of chocolate These toppings add notes of crunch and extra chocolate flavor making each bite special
 Bookmark
Nutella is my not so secret favorite ingredient here It is what makes this dessert both nostalgic and seriously grown up I started making it for my kids but have caught the adults sneaking seconds more than once
Storage Tips
Keep these cheesecakes covered tightly in the fridge for up to five days The flavor gets even better after a day or two For longer storage set the cheesecakes first in the fridge then wrap each portion well in plastic and aluminum foil before freezing They can be frozen up to three months Thaw overnight in the refrigerator before enjoying and skip adding the toppings until right before serving
Ingredient Substitutions
You can swap chocolate sandwich cookies for another variety if you like peanut butter or golden cookies make a fun twist If you do not have cool whip fresh whipped cream works just as well though the texture will be more delicate For a dairy free version use plant based cream cheese and coconut whipped topping but keep in mind the flavor will change
Serving Suggestions
Serve these little No Bake Nutella Cheesecakes straight from the fridge with coffee or espresso for a café style dessert They shine on a dessert buffet for parties You can even use small mason jars or clear cups for portable treats at picnics or potlucks
 Bookmark
Cultural and Holiday Context
Nutella based desserts are loved in Italy and worldwide for their nostalgic hazelnut chocolate flavor This cheesecake feels celebratory but simple enough for a weekday treat I have made these for birthdays and Valentine’s Day and always feel like I am serving something special that connects childhood favorites with grown up decadence
Common Recipe Questions
- → What makes the crust so chocolaty?
The crust uses crushed Oreo cookies, providing a rich chocolate flavor and perfect texture when combined with melted butter.
- → Can I use homemade whipped cream instead of cool whip?
Absolutely! Fresh whipped cream will offer a light, airy texture and can be used as a topping or in the filling.
- → How do I ensure the filling is smooth?
Let your cream cheese come to room temperature before mixing to avoid lumps and ensure the silkiest consistency.
- → Is it necessary to use hazelnuts as a topping?
No, hazelnuts add a nutty crunch and pair well with Nutella, but you may omit them or substitute with other nuts, chocolate shavings, or fresh berries.
- → How long does it need to chill before serving?
Plan on chilling your cheesecake for at least two hours to set the filling before serving for best results.
- → Can this dessert be made ahead?
Yes! Cover and refrigerate for up to 5 days, or freeze after setting for up to three months (without toppings).