
 Bookmark
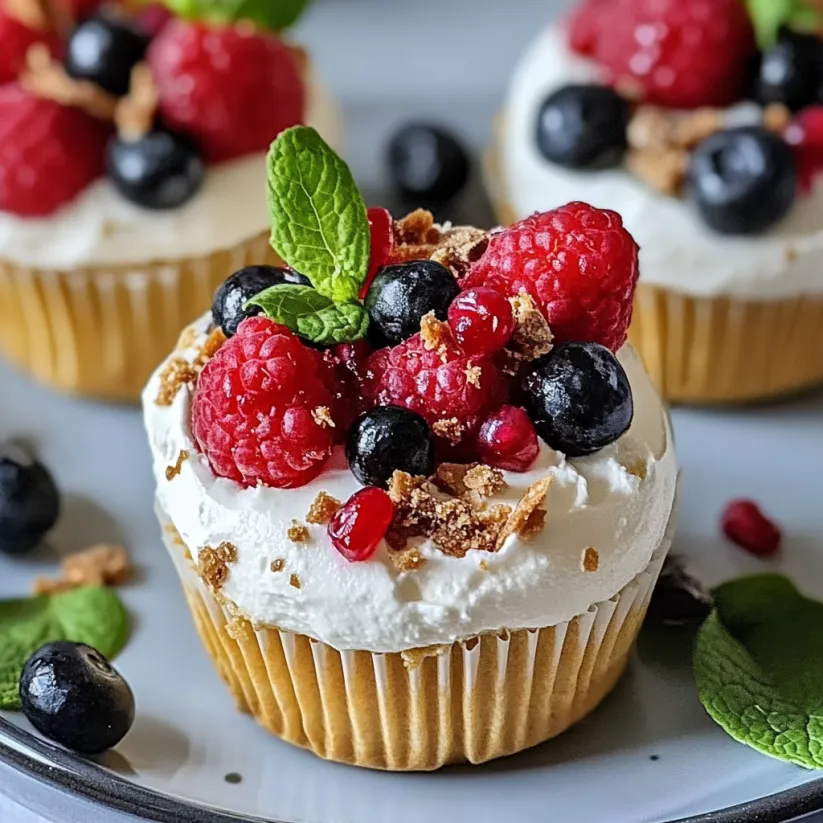
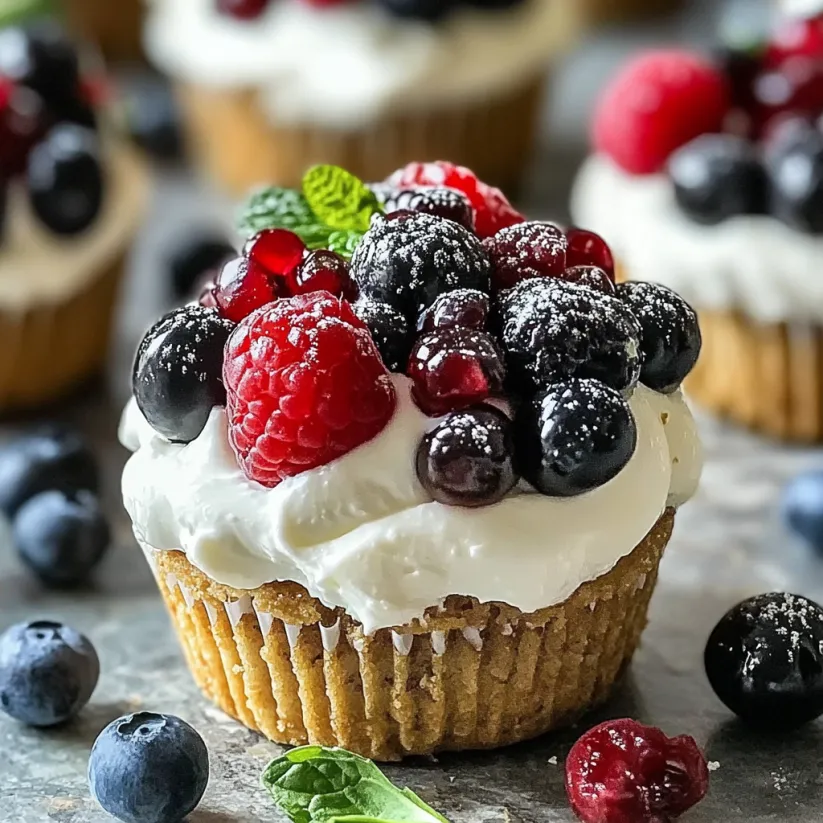
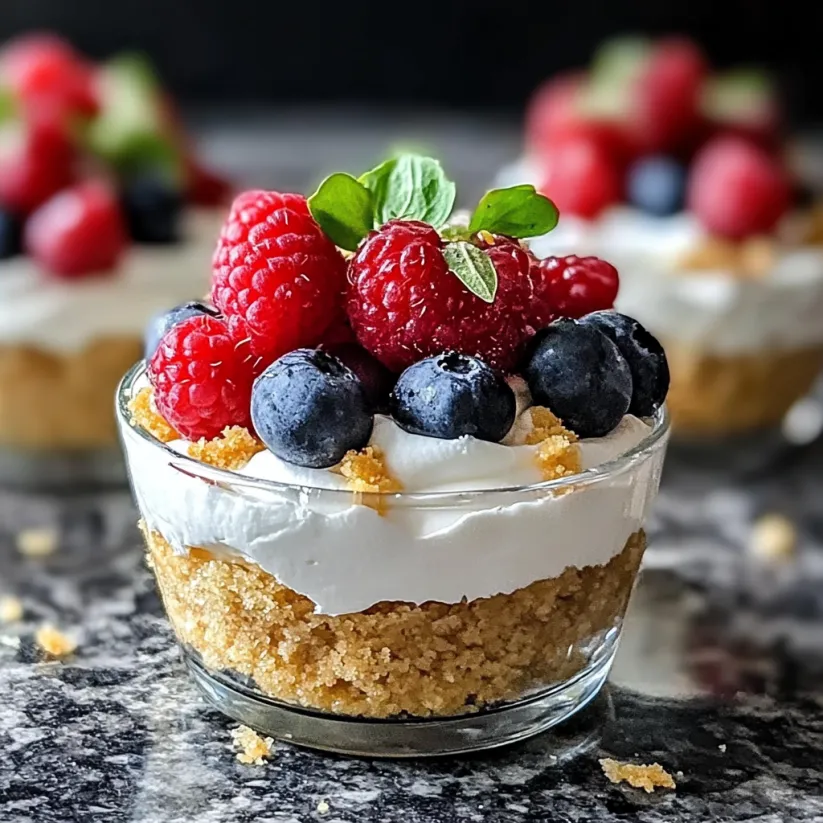
These quick and easy no-bake cheesecake cups are the ideal fix when you need a sweet treat without turning on the oven. Creamy cheesecake filling layered over buttery graham cracker crust makes these individual desserts just right for picnics summer gatherings or a make-ahead dessert for any occasion.
I made these for a last-minute barbecue when the weather was too hot for baking and everyone raved about the creamy texture. Now my family requests them every summer for birthdays and reunions.
Ingredients
- Graham cracker crumbs: bring classic buttery crunch choose a fresh box for the best texture
- Unsalted butter: pulls the crust together and gives richness use high-quality butter
- Granulated sugar: adds the right level of sweetness for the crust make sure it dissolves for a smooth blend
- Cream cheese: forms the creamy filling base always use full-fat for the richest result and make sure it is softened fully
- Heavy cream: makes the filling light and fluffy choose very cold cream and whip just to stiff peaks
- Powdered sugar: sweetens gently and gives a smooth finish sift if using an older box
- Vanilla extract: brings classic cheesecake flavor go with pure extract for the best aroma
- Lemon juice (optional): gives a subtle tang to balance the richness use freshly squeezed for brightness
- Fresh berries or fruit compote: add pretty color and a burst of freshness pick ripe berries and pat dry
Step-by-Step Instructions
- Prepare the Crust:
- Combine the graham cracker crumbs melted butter and granulated sugar in a bowl. Stir thoroughly until every crumb is moistened and the mixture looks like wet sand. Spoon about two tablespoons of this into the bottom of each cup or jar making sure to press it down firmly with the back of a spoon or your fingers so it creates a sturdy even layer. Place the cups in the fridge to chill while you work on the filling.
- Make the Cheesecake Filling:
- Place the softened cream cheese in a large bowl and use an electric mixer to beat until it is absolutely smooth and lump free taking about two minutes. Gradually add the powdered sugar vanilla extract and lemon juice if using then continue beating until everything is well mixed and glossy. In a separate bowl whip the cold heavy cream until stiff peaks form this usually takes about two to three minutes. Gently fold the whipped cream into the cream cheese blend taking care not to deflate the mixture so the cups stay airy and light.
- Assemble the Cheesecake Cups:
- Spoon the fluffy cheesecake filling over the chilled graham crust dividing it evenly among the cups. Smooth the tops with the back of a spoon or a small offset spatula so the surface is neat and the layers are visible from the sides.
- Chill:
- Refrigerate the assembled cheesecake cups for two to four hours to ensure they set perfectly. The longer they chill the firmer the filling will be so do not rush this step for the best texture.
- Add Toppings:
- Just before serving top each cup with fresh berries caramel sauce chocolate drizzle or any favorite garnish. Let everyone pick their own for a fun dessert bar twist.
 Bookmark
Graham cracker crust brings back memories of summer picnics with my sisters where we would press the crumbs in with sticky fingers laughing at whose layer was thickest. The simplest crust can spark the most nostalgia for me.
Storage Tips
Store the cheesecake cups covered in the fridge for up to two days and top with fruit or sauces right before eating for best texture. If you want to make them farther in advance freeze assembled but untopped cups for up to two weeks then thaw in the fridge.
Ingredient Substitutions
Swap in gluten-free graham crackers or use crushed Oreos for a chocolatey crust. For dairy-free versions use vegan cream cheese and coconut whipped cream which give an unexpectedly luscious result.
Serving Suggestions
Add a dollop of lemon curd or swirl in raspberry sauce before chilling for a pop of color. These cups are lovely on a dessert buffet with a build-your-own topping bar or packed into jars for picnic baskets.
 Bookmark
Cheesecake Cups Roots
This popular no-bake riff on classic cheesecake likely started as a practical hack by home cooks wanting easier dessert options. The classic American cheesecake flavor everyone loves but scaled down and made simpler for all seasons.
Common Recipe Questions
- → How do I prevent the crust from crumbling?
Combine the graham cracker crumbs thoroughly with melted butter and sugar for a cohesive mixture. Press it firmly into the cup so it holds its shape when chilled.
- → Can I substitute the graham crackers?
Yes, try crushed cookies like Oreos or add a bit of coconut mixed with crumbs for a unique twist on the base flavor.
- → How long should the cups chill?
Chill the assembled cups for 2–4 hours until set. For best results, prepare a few hours ahead to allow the filling to firm up well.
- → What toppings work best?
Fresh berries, caramel sauce, chocolate drizzle, or a spoonful of fruity compote are all delicious choices for finishing touches.
- → Can I make these in advance?
Assembled cups keep well in the refrigerator for up to 2 days. Add any fresh toppings just before serving for best texture and appearance.
- → Is lemon juice necessary for the filling?
Lemon juice adds a hint of tang but is optional. Leave it out for a purely classic vanilla flavor if preferred.