
 Bookmark
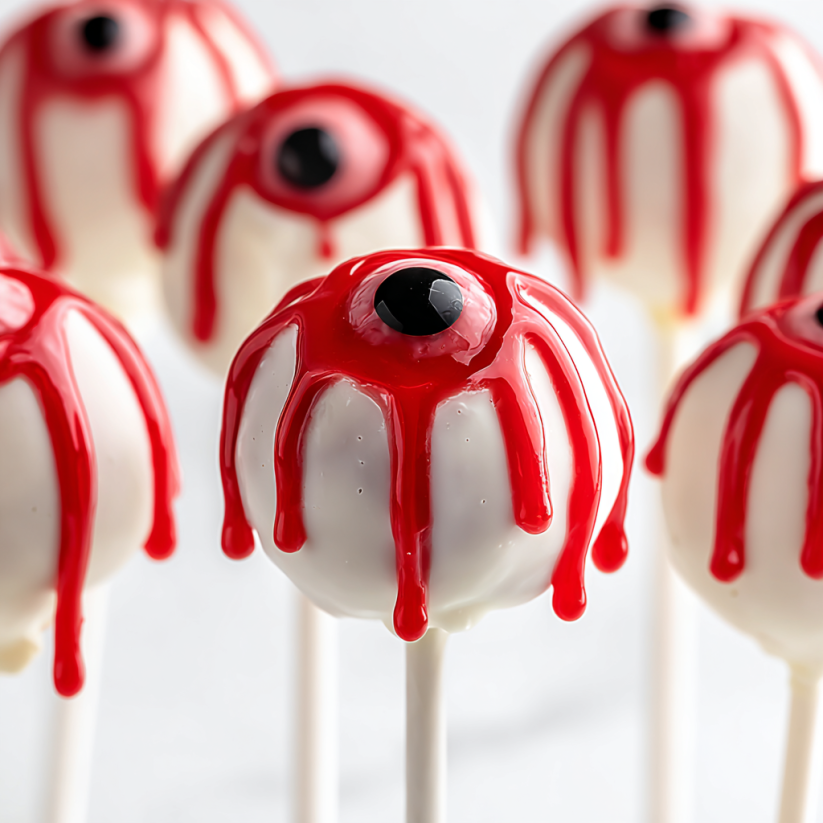
These Eyeball Cake Pops make the perfect treat for Halloween parties or any time you need a delightfully spooky dessert. They combine easy-to-find ingredients with simple decorating to create something both delicious and eye-catching. Kids love helping decorate these fun treats and you will not believe how quickly they disappear from the dessert table.
I started making these for my niece's Halloween birthday party and now my family asks for them every year because they are just as fun to make as they are to eat.
Ingredients
- Vanilla cake mix: makes the base simple and flavorful choose a good-quality brand for best taste
- Eggs, oil, and water: as required by the cake box for a tender moist cake
- Vanilla frosting: binds the crumbs into a moist dough look for creamy smooth textures
- White chocolate melts: create a smooth bright coating use real chocolate melts for the best finish
- Candy eyeballs: bring the spooky fun you can find them at most baking supply stores
- Red gel icing: makes vivid veins for the bloodshot look pick up a high-pigment gel for neat lines
Step-by-Step Instructions
- Bake the Cake:
- Prepare the vanilla cake as directed on the box using fresh eggs and good oil for the best crumb then let it cool completely this ensures the cake does not get soggy
- Crumble and Mix:
- Break the cooled cake into fine crumbs in a large bowl use your fingertips or a fork to avoid big chunks then add the vanilla frosting and blend until it forms a playdough-like mixture
- Shape the Pops:
- Scoop the cake mixture and roll into 1-inch balls keeping them uniform helps them coat evenly set them on a parchment-lined tray for easy clean-up
- Freeze the Balls:
- Place the tray in the freezer for about one hour this firms them up and keeps them from falling apart during dipping
- Melt and Prep Chocolate:
- Gently melt white chocolate melts in a microwave-safe bowl use 30-second bursts and stir until smooth to avoid scorching
- Stick and Dip:
- Dip a cake pop stick into a bit of melted chocolate then push it halfway into a cake ball this anchors the stick and keeps the pop secure after setting fully dip each ball into the melted white chocolate spinning for a smooth coating
- Decorate the Eyeballs:
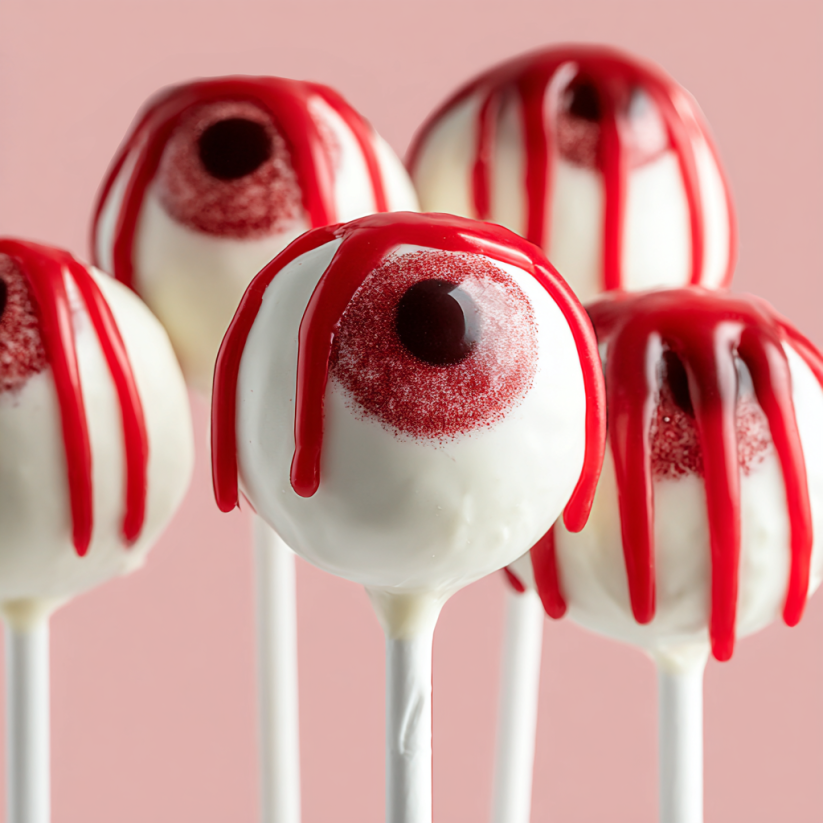
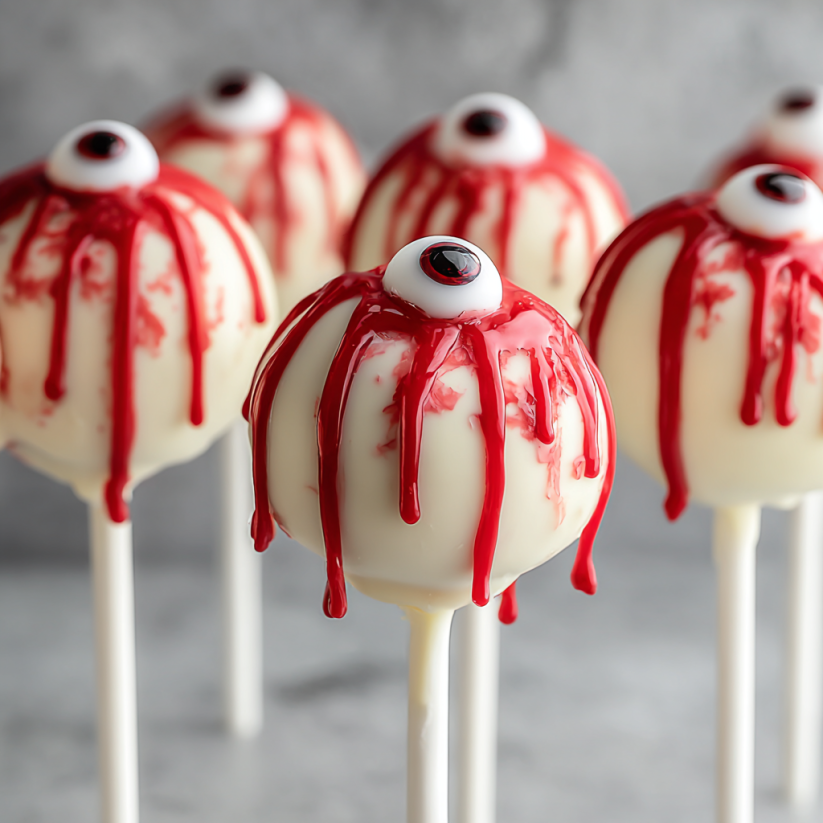
- While the chocolate is still soft attach a candy eyeball to each pop then use red icing to pipe on scary veins add blue gel for an iris if you like and a tiny black dot for the pupil
- Set and Serve:
- Let the cake pops stand upright until the coating is fully set you can use a block of styrofoam to hold them upright then serve and enjoy
 Bookmark
I absolutely love the way the white chocolate coating stays crisp and sweet against the soft cake inside candy eyeballs always make me laugh because every kid gives their treat a name before eating it
Storage Tips
Store cake pops in an airtight container at room temperature for two days or up to one week in the refrigerator. If making ahead for a party freeze undecorated pops and dip in chocolate just before serving for best texture.
Ingredient Substitutions
If you cannot find candy eyeballs use a drop of blue gel icing and a smaller black dot for the eye. Chocolate cake mix works well as a spooky alternative and you can try cream cheese frosting for a tangier bite.
Serving Suggestions
Stand pops in a decorated foam block or jar for a party centerpiece. For extra flair sprinkle with edible glitter or use neon food coloring for even funkier eyes. These make a perfect Halloween party favor when wrapped in individual treat bags.
 Bookmark
Cultural Notes
Cake pops became popular in the early 2000s as a fun way to repurpose cake scraps. Holiday versions like these Eyeball Cake Pops showcase how adaptable and playful the concept can be making celebrations extra memorable with edible art.
Common Recipe Questions
- → What type of cake is best for these cake pops?
A classic vanilla cake mix works well for sweetness and structure, holding together nicely once mixed with frosting.
- → How do I keep the cake pops from falling off the stick?
Dipping the stick in melted chocolate before inserting into the cake ball helps secure it and prevents slipping during coating.
- → What's the best way to achieve smooth white chocolate coating?
Ensure the chocolate is fully melted and thin; gently tap off excess and rotate for an even coating before setting.
- → Can I prepare these treats in advance?
Yes, you can make them a day ahead and store in an airtight container; the decorations hold up well overnight.
- → How do I decorate the eyeball effect?
Use red icing to draw veins, blue icing for the iris, and finish with a black icing dot for the pupil on each candy eye.