
 Bookmark
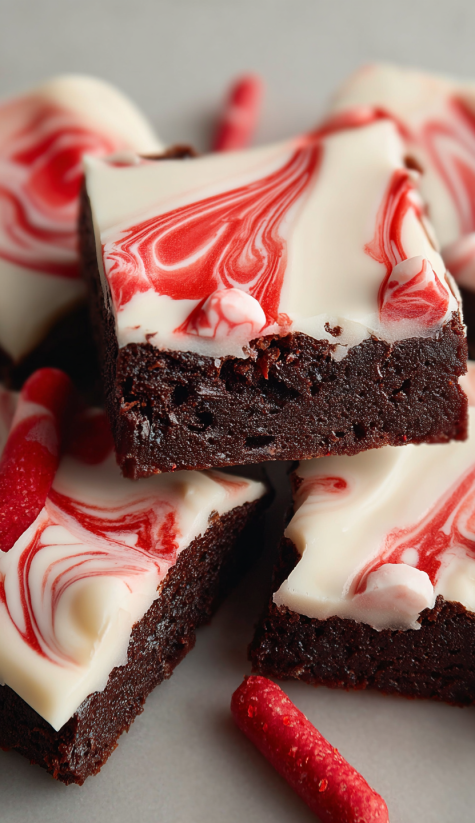
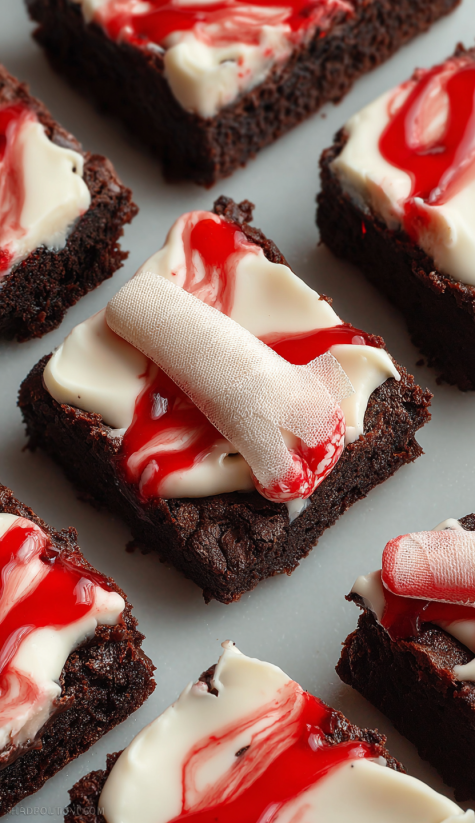
These Creepy Halloween Brownies are all about fun and fright—they are rich fudgy brownies piled high with dark cocoa flavor and topped with a thick glaze that hides a chilling surprise. The real showstopper here is the creepy finger decoration on top which never fails to get a reaction at parties. Every bite still delivers that classic homemade brownie taste but with spooky flair for Halloween.
The first time I made these brownies for a neighborhood Halloween party people were both giggling and shrieking as soon as they spotted those grisly fingers. My daughter insists I make them every October now and I never get tired of the crowd’s reaction.
Ingredients
- Dixie Crystals Pure Cane Sugar: gives sweetness and a perfect soft crumb use a finely textured cane sugar for best results
- Rodelle Dutch Baking Cocoa: deepens chocolate flavor and makes the brownie base rich opt for a high quality Dutch cocoa for a deep color
- All purpose flour: helps provide structure I always spoon and level the flour for accuracy
- Eggs: add moisture and bind everything together look for fresh large eggs with bright yolks
- Butter: supplies richness and chewy texture unsalted is best so you control the salt
- Vanilla extract: boosts the flavors a real vanilla over imitation takes these brownies up a notch
- Salt: balances sweetness use a fine sea salt for even distribution
- Royal Icing Chopped Finger decorations: for the spooky effect choose sturdy ones that will not melt in the glaze
- Powdered sugar and cocoa for the glaze: to create a thick pourable frosting use the highest quality for best finish
- Red gel food coloring: makes the “blood” atop the brownies a true must for the creepy effect choose a vibrant gel rather than liquid for bolder color
Step-by-Step Instructions
- Mix the Brownie Batter:
- In a large mixing bowl combine melted butter and Dixie Crystals sugar making sure to whisk until smooth and glossy. Add eggs one at a time whisking fully after each addition so the batter stays thick and shiny. Stir in vanilla. Sift in Rodelle Dutch cocoa flour and salt then fold together with a spatula using gentle strokes to avoid over mixing. The batter should look glossy and thick like lava.
- Prepare for Baking:
- Line a square baking pan with parchment paper and lightly grease so the brownies release easily. Spread the batter evenly right into the corners with an offset spatula for perfect edges.
- Bake the Brownies:
- Place the pan in a preheated 350 degree oven and bake for 28 to 32 minutes. Check with a toothpick it should come out with a few moist crumbs for extra fudgy brownies. Let cool fully in the pan before glazing.
- Make the Glaze:
- Whisk powdered sugar cocoa a touch of melted butter and a few tablespoons of hot water until the glaze is glossy and thick enough to pour but not runny. Pour right over cooled brownies and use a spatula to create a smooth surface. Let it set for about 30 minutes.
- Decorate with Chopped Fingers:
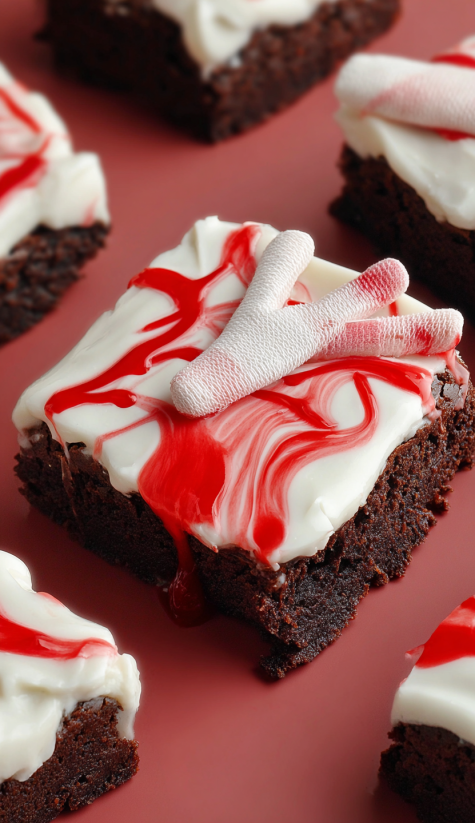
- Once the glaze is set press Royal Icing Chopped Finger pieces gently into the top of each brownie square. Use a toothpick to drip red gel food coloring from the cut end of each finger and let it ooze down a little to create a fresh “severed” effect.
- Slice and Serve:
- Cut the brownies into squares with a sharp knife wiping between cuts for clean edges. Arrange on a platter and prepare for some startled reactions.
 Bookmark
My favorite ingredient is always the Dutch cocoa because it packs a powerful flavorful punch with every bite. One year my daughter brought a tray of these to her school party and her teacher called to say it was the talk of the day I cannot remember laughing so hard at the horrified faces as the kids discovered the finger surprise.
Storage Tips
Store brownies in an airtight container at room temperature for three days. For longer storage wrap individual pieces and freeze them for up to two months. Thaw overnight at room temperature before decorating with fingers and glaze for best results.
Ingredient Substitutions
You can swap regular granulated sugar for Dixie Crystals cane sugar if needed but the texture may differ slightly. If you do not have Dutch cocoa regular unsweetened cocoa gives a lighter but still delicious flavor. For gluten free try using a one to one gluten free flour blend.
Serving Suggestions
These brownies are a knockout centerpiece for Halloween dessert tables. Serve them alongside orange punch or even pack one in your kid’s lunch box for a Halloween surprise. They also pair really well with a scoop of vanilla ice cream for those who want a little less scare and more comfort.
 Bookmark
Cultural and Holiday Fun
Halloween is the perfect time to get playful with food and these brownies certainly build up the spooky spirit. Creepy finger treats have become a classic joke in my house leading to some wild storytelling around the table. This recipe is proof that you do not need complicated steps to make memories in the kitchen.
Common Recipe Questions
- → How do I get the brownies extra fudgy?
Use quality dutch cocoa and pure cane sugar, avoid overbaking, and incorporate melted chocolate in your batter for ultimate fudginess.
- → What can I use for spooky decorations?
Try royal icing chopped fingers, candy eyes, or edible fake blood for a creepy yet tasty finish.
- → Can I make these brownies ahead of time?
Yes, they can be made a day or two in advance and stored in an airtight container for best texture.
- → What type of cocoa powder works best?
Dutch process baking cocoa gives a deep, rich flavor and beautiful dark color to your brownies.
- → How thick should I make the glaze?
A thick, glossy glaze sets nicely on top of cooled brownies and holds spooky toppings in place.
- → Are these suitable for kids’ parties?
Absolutely! These playful brownies are a hit at family gatherings, school events, or Halloween celebrations.