
 Bookmark
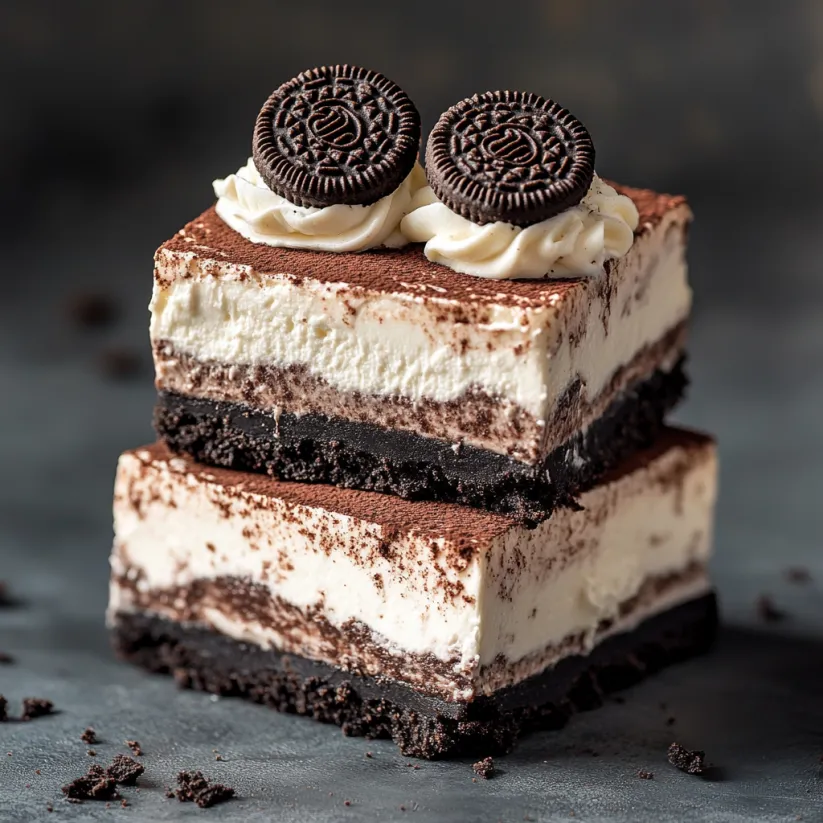
Summer afternoons are perfect for making memories with family. Creating a dessert that’s easy to make yet tastes amazing is special. These no-bake Oreo cheesecake bars are a perfect example. They turn simple ingredients into a treat that everyone will enjoy.
Imagine making a delicious dessert without the heat of the kitchen. These easy recipes are great for those who want tasty results with little effort. With just a few ingredients and simple steps, you’ll make a dessert that looks like it came from a bakery but is ready in minutes.
These no-bake Oreo cheesecake bars are perfect for any occasion. They’re rich, creamy, and full of Oreo flavor. They’re sure to become your new favorite dessert.
Why No-Bake Oreo Cheesecake Bars Are Your Perfect Summer Dessert
Summer is the perfect time for cool and tasty treats. No-bake cheesecake bars are ideal for those who love desserts but want something easy. They mix creamy cheesecake with crunchy Oreo cookies.
Benefits of No-Bake Desserts
High temperatures mean no baking for you. No-bake desserts are great because they:
- Keep your kitchen cool during hot weather
- Reduce energy consumption
- Minimize preparation time
- Require minimal cooking skills
Time-Saving Advantages
These bars are quick to make, perfect for busy people. You can make them in under 30 minutes. This leaves more time for fun with family and friends.
Year-Round Appeal
These Oreo cheesecake bars are not just for summer. They’re great for:
- Backyard barbecues
- Holiday gatherings
- Potluck parties
- Casual weekend treats
They’re simple and loved by all, making them a year-round favorite.
Essential Ingredients for Your Oreo Cheesecake Creation
- Oreo Cookies: 1 package of original Oreo cookies
Used for both crust and decoration - Cream Cheese: 16 oz full-fat cream cheese
Room temperature for smooth mixing - Heavy Cream: 1 cup, cold
Ensures perfect texture - Powdered Sugar: 1 cup
Provides sweetness without graininess
Kitchen Tools and Equipment You’ll Need
To make delicious creamy cheesecake treats, you need the right tools. Whether you’re new to baking or have lots of experience, the right equipment makes it fun and easy.
Essential Utensils for Success
- 9×9 inch baking pan
- Electric mixer or stand mixer
- Large mixing bowls
- Rubber spatula
- Measuring cups and spoons
- Parchment paper
Selecting the Perfect Pan
Choosing the right pan is key for your creamy cheesecake treats. A springform or square baking pan is best for these no-bake bars.
- Springform Pan: Easy release, clean cuts — Elegant presentation
- Square Baking Pan: Simple storage, uniform bars — Kid-friendly recipes
- Rectangular Pan: More servings, flexible cutting — Larger gatherings
Optional Equipment to Enhance Your Baking
- Digital kitchen scale
- Offset spatula
- Pastry bag for decorating
- Silicone baking mat
Remember, the right tools and patience are key for perfect creamy cheesecake treats. With these, you’ll make delightful kid-friendly recipes that everyone will enjoy!
Step-by-Step Preparation of the Oreo Crust
- Oreo Cookies: 20 (original or double-stuffed)
- Unsalted Butter: 5 tablespoons, melted
- Salt: Pinch (optional)
Start by crushing your Oreo cookies into fine crumbs. You can do this in two ways:
- Food Processor Method: Pulse cookies until they’re uniform crumbs
- Manual Method: Place cookies in a sealed plastic bag and crush with a rolling pin
Once crushed, mix the cookie crumbs with melted butter until it looks like wet sand. Press the mix into a lined 8×8 inch baking pan. Make sure it’s even. Use a spoon or measuring cup to press it down.
Chill the crust for 15-20 minutes before adding the cheesecake filling. This step makes the crust firm and ready for your creamy dessert.
Creating the Perfect Creamy Cheesecake Filling
Making the perfect no-bake cheesecake filling is all about precision and technique. It starts with picking the right ingredients and blending them just right.
Cream Cheese Selection Secrets
- Full-fat cream cheese at room temperature
- Name-brand cream cheese for consistent texture
- Avoid low-fat or whipped varieties
Mastering Mixing Techniques
- Start with room-temperature ingredients
- Use an electric mixer on low speed
- Mix until just combined to prevent overbeating
Achieving Silky-Smooth Consistency
- Cream Cheese: Base of filling — Must be room temperature
- Powdered Sugar: Sweetness — Sifts smoothly
- Vanilla Extract: Flavor enhancement — Use pure vanilla
Assembly and Layering Techniques
Begin by making your chilled Oreo cookie crust. A good crust is key for your cheesecake bars. It must be even and firm to hold the creamy filling.
- Ensure crust is level and firmly pressed
- Use the back of a spoon for smooth surface
- Refrigerate crust for 15-20 minutes before filling
When adding the cheesecake filling, follow these steps for perfect layers:
- Pour filling gently in the center of the crust
- Spread filling using a spatula in smooth, consistent motions
- Tap pan lightly to release potential air bubbles
For a fancy look, try these creative layering ideas:
- Crumble Oreo cookies on top: Adds textural contrast
- Swirl chocolate sauce: Creates visual interest
- Sprinkle mini Oreo pieces: Enhances flavor profile
Proper Chilling and Setting Guidelines
- Minimum chilling time: 4 hours
- Ideal setting time: 6-8 hours
- Maximum recommended refrigeration: 24 hours before serving
Storage Tips:
- Refrigerator Storage: 3-5 days — Cover tightly with plastic wrap
- Freezer Storage: Up to 2 weeks — Wrap individually in freezer-safe container
 Bookmark
Creative Variations and Toppings
- Fresh strawberry compote
- Mango puree drizzle
- Raspberry coulis
- Chocolate ganache topping
- Nutella swirl
- Chocolate-covered Oreo crumbles
- Salted caramel drizzle
- Peanut butter cream layer
- Mint chocolate chip crumble
Troubleshooting Common Issues
- Grainy Filling: Cream cheese not at room temperature
- Overmixing: Can introduce air bubbles
- Cold ingredients: Lead to lumpy filling
Soft Filling: Not enough chilling time — Refrigerate for at least 4-6 hours
Runny Texture: Incorrect cream cheese ratio — Adjust ingredient proportions
Quick Fixes:
- Use gelatin to help stabilize the filling
- Freeze for 30 minutes to firm up quickly
- Blend ingredients thoroughly to remove lumps
Make-Ahead and Storage Instructions
Refrigeration is key for optimal taste and texture. Always cover cheesecake bars tightly with plastic wrap. Store in an airtight container to prevent moisture absorption.
- Refrigerator: Up to 5 days
- Freezer: Wrap individual bars in plastic wrap and freeze up to 2 months
Serving Suggestions and Presentation Ideas
Cutting and plating these treats needs precision and flair. Use a sharp, clean knife warmed under hot water for crisp slices. Wipe the blade between cuts to keep it clean.
- Crushed Oreo cookie crumbs
- Chocolate drizzle
- Fresh berries
- Whipped cream dollops
Occasion Presentation Style:
- Family Dinner: Casual — Serve on individual dessert plates
- Dinner Party: Elegant — Plate with artistic chocolate drizzle
- Potluck: Portable — Cut into bite-sized squares
 Bookmark
Conclusion
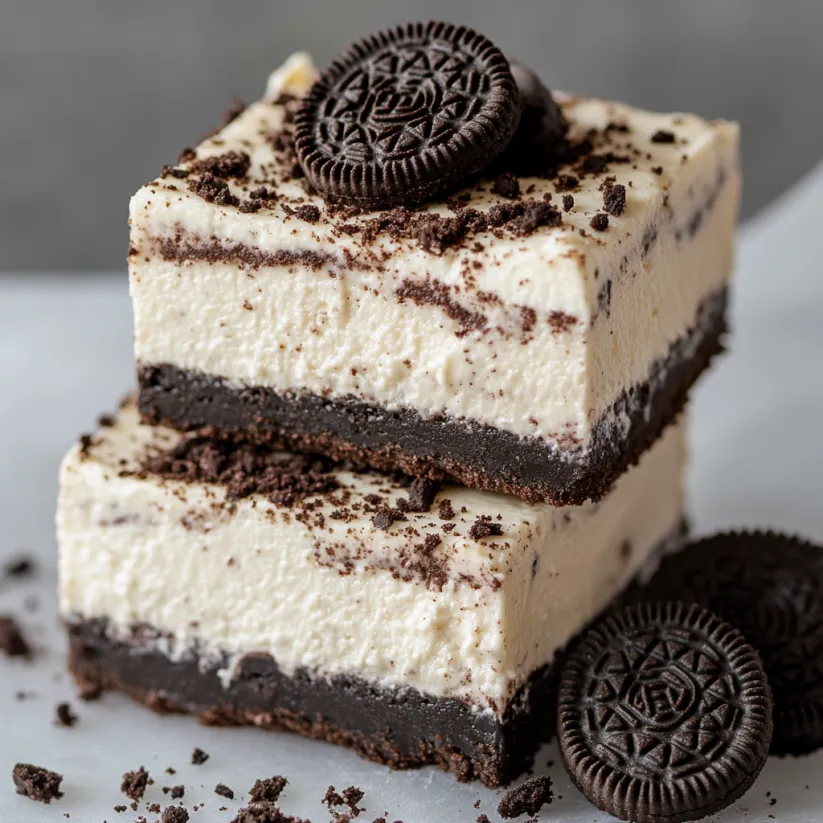
No-bake Oreo cheesecake bars are the perfect summer treat. They mix simplicity with amazing taste. You’ve seen how easy it is to make a hit dessert without using the oven.
These bars are great for any event or just for yourself. They’re perfect for a backyard BBQ or a cool dessert on a hot day. They’re easy to make and always impress.
Try making these bars and add your own twist. Share your creations and enjoy this tasty summer dessert. Your creativity can turn this simple recipe into a masterpiece that everyone will love.
Common Recipe Questions
- → Can I use different Oreo flavors for the crust?
Yes, you can substitute classic Oreos with flavors like mint, golden, or peanut butter for a unique twist.
- → How long do these bars need to chill before serving?
For the best consistency, chill the bars for at least 4 hours, but 6–8 hours is ideal for full setting.
- → Can I freeze Oreo cheesecake bars?
Absolutely! Wrap individual bars and store them in a freezer-safe container for up to 2 months. Thaw in the fridge before serving.
- → What’s the best way to crush the Oreo cookies?
Use a food processor for fine, even crumbs. Alternatively, place cookies in a sealed bag and crush them with a rolling pin.
- → How do I prevent the filling from becoming lumpy?
Ensure all ingredients are at room temperature and mix on low speed to avoid air bubbles and uneven texture.
- → What pan size should I use?
An 8×8 or 9×9 inch square baking pan works best for evenly shaped bars and easy slicing.