
 Bookmark
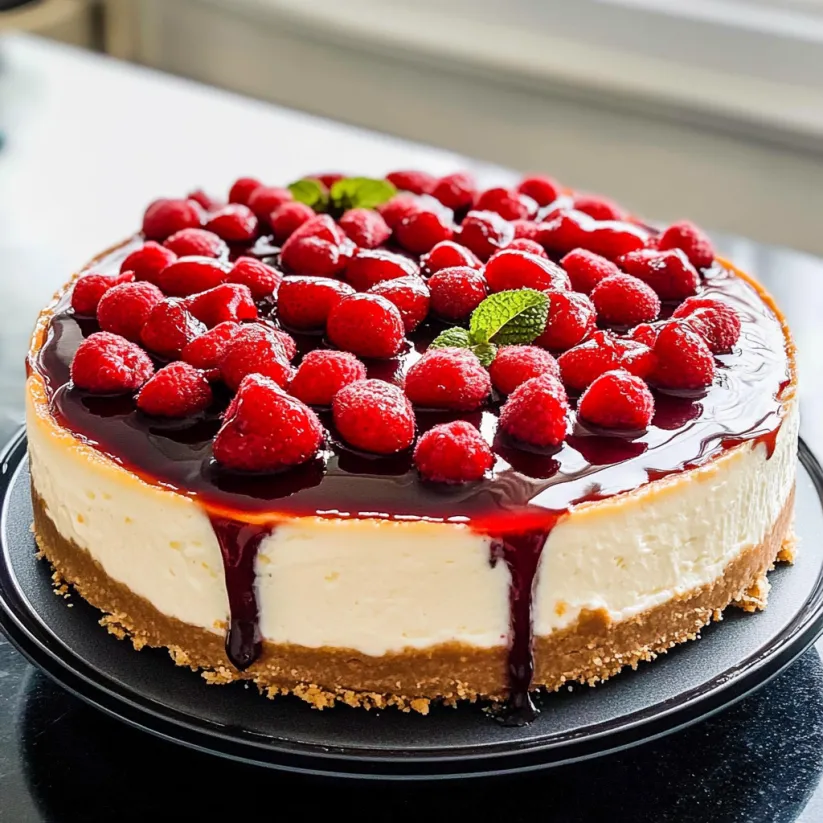
This decadent cheesecake recipe creates the creamiest, most luxurious dessert you'll ever taste. The perfect balance of tangy and sweet flavors sits atop a buttery graham cracker crust, all crowned with luscious cherry topping. After years of testing different techniques, I've perfected this foolproof method that delivers restaurant-quality results right in your home kitchen.
I first made this cheesecake for my husband's birthday celebration, and it became an instant family tradition. Now my children request it for every special occasion, and I've even started teaching my oldest how to make it as our special bonding activity.
Ingredients
- Graham cracker crumbs: create the perfect textured crust that complements the creamy filling while providing structural support
- Cream cheese: forms the foundation of your cheesecake choose full-fat Philadelphia brand for the creamiest results
- Granulated sugar: provides just the right amount of sweetness without overwhelming the tangy cream cheese
- All purpose flour: stabilizes the batter and prevents cracks during baking
- Vanilla extract: adds warm depth of flavor look for pure extract rather than imitation
- Sour cream: creates that signature tangy flavor and silky texture
- Eggs: bind everything together while creating richness use room temperature eggs for best incorporation
- Cherry pie filling: offers the perfect sweet finishing touch for a classic presentation
Step-by-Step Instructions
- Prepare the crust:
- Process graham crackers until they reach fine crumb consistency. Mix thoroughly with melted butter until the mixture resembles wet sand. Press firmly into the springform pan using a measuring cup to create an even layer with slightly raised edges. Bake for 10 minutes until just set and slightly fragrant. This pre-baking step ensures your crust stays crisp beneath the creamy filling.
- Create the filling:
- Beat cream cheese, sugar, flour and vanilla until absolutely smooth and free of lumps. This is critical for perfect texture. Add sour cream and mix until fully incorporated. The mixture should be silky and uniform. Add eggs one at a time on low speed, mixing just until blended. Overmixing at this stage can incorporate too much air and cause cracks during baking. Pour this luxurious batter over your pre-baked crust.
- Set up the water bath:
- Wrap the springform pan thoroughly in aluminum foil, creating a watertight seal to prevent moisture from seeping in. Place the wrapped pan into a larger roasting pan and add boiling water until it reaches halfway up the sides of the springform pan. This gentle, moist heat ensures even baking and prevents the dreaded crack on top of your cheesecake.
- Bake to perfection:
- Bake for 1 hour and 10 minutes until the edges are set but the center still has a slight jiggle. Turn off the oven, crack the door open, and allow the cheesecake to cool gradually in the oven. This slow cooling process is crucial for preventing the surface from cracking as it contracts. Refrigerate for at least 4 hours or overnight to fully set the texture.
 Bookmark
The cream cheese is truly the star of this recipe. I learned from my grandmother to always use room temperature cream cheese and to beat it thoroughly before adding other ingredients. She would say that patient mixing is the secret to silky smoothness, and after making this recipe dozens of times, I completely agree with her wisdom.
Storage Instructions
This cheesecake keeps beautifully in the refrigerator for up to 5 days when stored in an airtight container. The flavor actually improves after a day as the ingredients have time to meld together. I often make this dessert a day ahead of serving for the best flavor profile and to reduce day-of preparation stress.
Flavor Variations
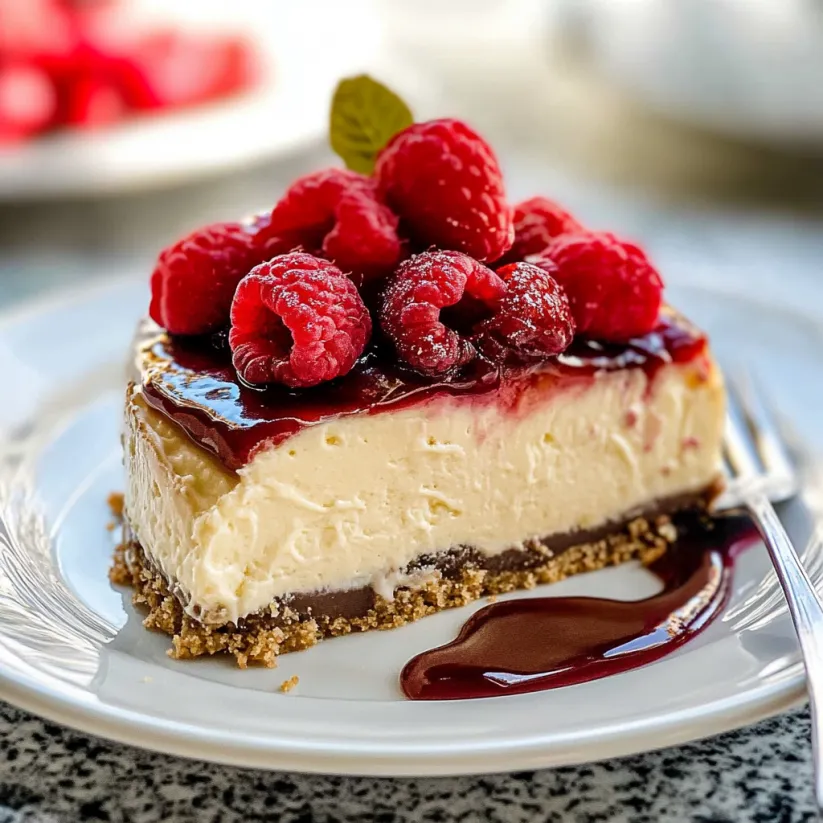
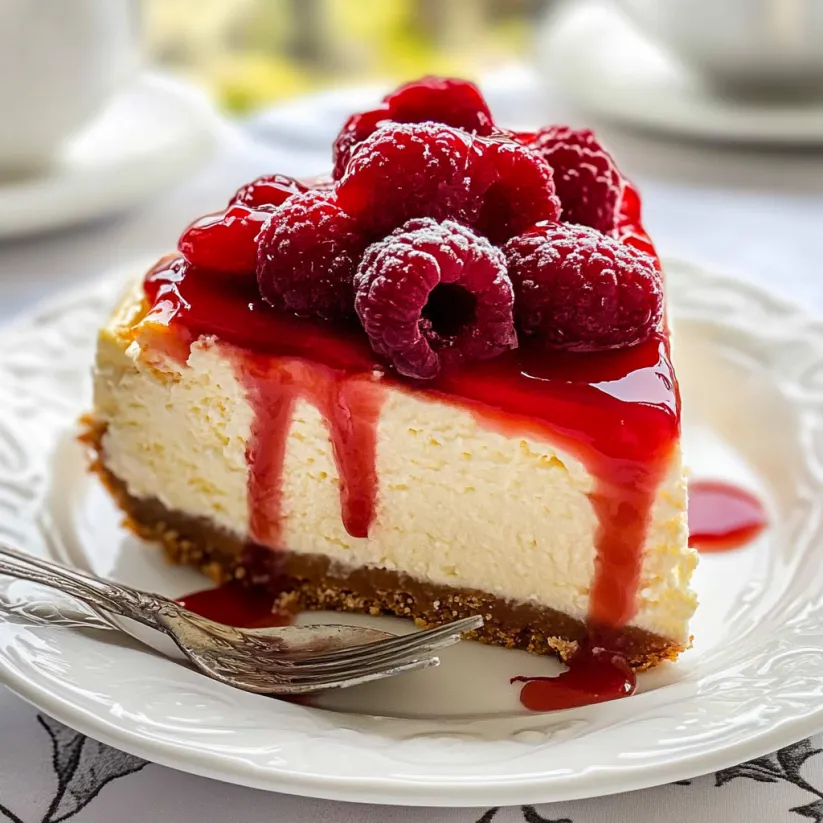
While cherry topping is classic, this versatile cheesecake base welcomes countless variations. Try fresh berries tossed with a bit of sugar for a lighter option, or drizzle with chocolate ganache for chocolate lovers. Swirl in caramel sauce before baking for a salted caramel version, or fold in lemon zest and top with lemon curd for a bright citrus variation. My family particularly loves when I add a tablespoon of espresso powder to the batter for a subtle coffee undertone.
Troubleshooting Tips
The water bath might seem fussy but it truly prevents cracks and ensures even cooking. If your cheesecake cracks despite your best efforts, no worries simply cover it with your topping and no one will know. Also, make absolutely certain your cream cheese is fully softened before mixing to avoid lumps that no amount of mixing can remedy. And remember that patience during cooling is essential letting the cake cool in the oven with door ajar creates the perfect texture.
 Bookmark
Common Recipe Questions
- → How do I prevent my cheesecake from cracking?
Prevent cracks by using a water bath during baking, avoiding overmixing the batter, and allowing the cheesecake to cool gradually in the turned-off oven with the door slightly open. Make sure all ingredients are at room temperature before mixing.
- → Can I freeze this cheesecake?
Yes! Individual slices can be wrapped in plastic wrap or foil, placed in a ziplock bag, and frozen for up to 3 weeks. A whole cheesecake, properly wrapped, will last up to 6 weeks in the freezer. Thaw overnight in the refrigerator before serving.
- → What's the purpose of the water bath?
The water bath creates a gentle, humid environment that helps the cheesecake bake evenly, prevents cracks, and creates that signature creamy texture. Be sure to wrap the springform pan properly with foil to prevent water seepage.
- → Can I substitute the cherry topping?
Absolutely! This cheesecake works beautifully with various toppings including strawberry, blueberry, caramel, chocolate ganache, or even fresh fruit. You can use store-bought or homemade toppings based on your preference.
- → How do I know when my cheesecake is done baking?
The cheesecake is done when the edges are set but the center still has a slight jiggle (about a 2-3 inch circle in the middle). It will continue to set as it cools. Overbaking can cause cracks and a dry texture.
- → Why does the recipe call for flour in the filling?
The small amount of flour helps stabilize the cheesecake and prevents it from cracking. It also contributes to the perfect texture without making it taste cakey.