
 Bookmark
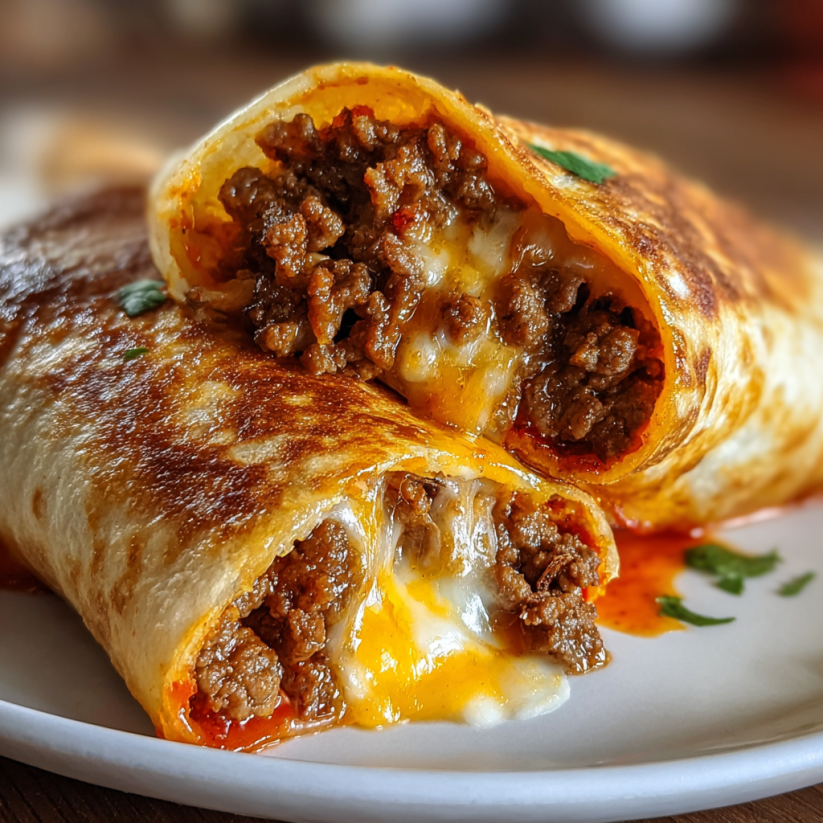
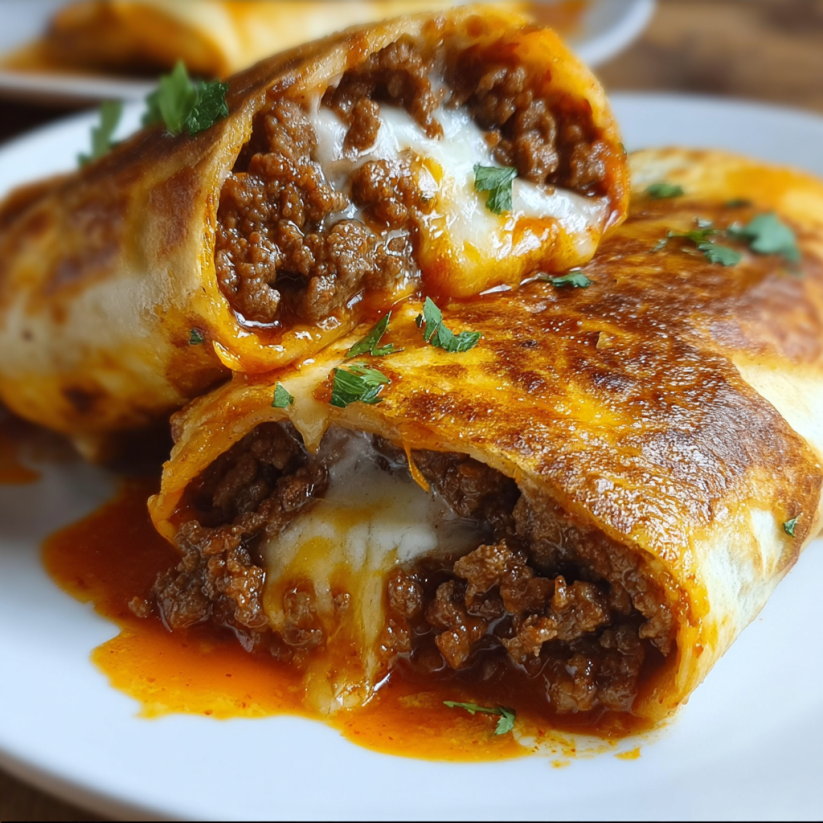
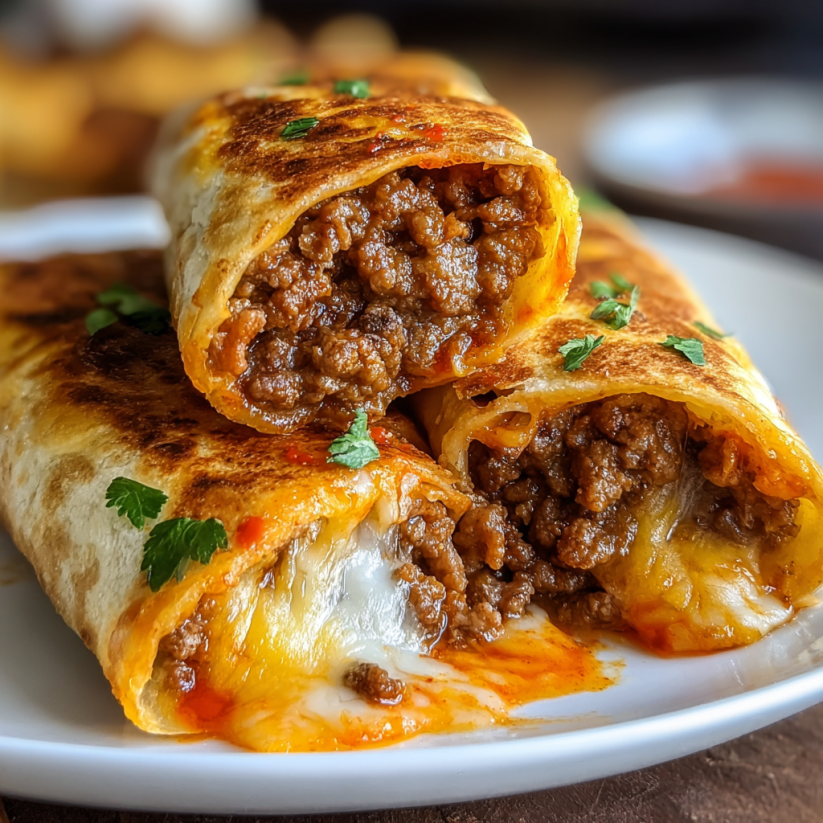
Crispy beef and cheese chimichangas bring restaurant-worthy comfort straight to your kitchen. Joyfully golden and stuffed with seasoned beef and melty cheese, they are my go-to for feeding a crowd or treating myself after a busy week.
The first time I served these for a movie night they disappeared almost instantly. My sister now asks for them for every family birthday and they have become our little tradition.
Ingredients
- Ground beef: uses eighty percent lean so the filling is juicy but not greasy. Always choose beef that is bright red with a clean smell
- Onion and garlic: finely chopped create the deep savory base for the filling
- Green and red bell peppers: diced give sweetness and color. Pick ones that feel firm and have shiny skin
- Tomato paste: provides concentrated tomato flavor. Look for deep red paste for the richest taste
- Beef broth or water: gives moisture and body. Homemade broth adds even more flavor but a good boxed broth also works
- Ground cumin, chili powder, smoked paprika, coriander, oregano, and cayenne: are classic for bold savory flavor. Use fresh spices and Mexican oregano if possible
- Cheddar, Monterey Jack or mozzarella, and queso fresco or feta: offer that unbeatable melty tagline. Use whole blocks grated by hand for best results
- Flour tortillas: choose large soft ones about ten inches so you can fit lots of filling
- Sour cream or cream cheese: for creamy richness when you spread it inside. Full fat always melts and mixes best
- Fresh cilantro: for finish. Pick vibrant green leaves and rinse well
- Vegetable oil: for that signature crispy crust. Use a mild oil like sunflower or canola that can handle high heat
- Optional toppings: include guacamole, salsa, pico de gallo, lettuce, sour cream, sliced green onion, or jalapeno so everyone can build their own favorite combo
Step-by-Step Instructions
- Prepare the Beef Filling:
- Heat oil in a large skillet over medium heat. Add onion and cook about three minutes until translucent for a rich base. Add garlic and bell peppers then cook another two minutes so everything softens but does not turn brown. Increase heat and add ground beef. Break up the meat and brown for five or six minutes. Drain excess fat so the filling is not greasy.
- Season and Simmer:
- Stir in tomato paste and cook for one minute until fragrant and darkened. Sprinkle in all the spices with salt and pepper then mix so every bit of beef is seasoned. Pour in broth. Lower heat and simmer gently five minutes stirring every so often until filling is thick and saucy. Remove from heat and let cool until just warm for easy handling.
- Prepare the Cheese Blend:
- In a bowl mix grated cheddar Monterey Jack and crumbled queso fresco so it is loose and fluffy.
- Assemble the Chimichangas:
- Lay a tortilla flat. Spread a thin layer of sour cream or cream cheese down the center. Place half a cup cooled beef filling in the middle. Top with a generous handful of cheese blend. Fold both sides over then roll up tightly from the bottom to seal the filling. Use a toothpick if you want extra security.
- Fry or Bake the Chimichangas:
- For frying heat one inch vegetable oil in a large skillet until shimmering. Test with a small piece of tortilla. Gently lower chimichangas in seam side down. Cook two to three minutes per side until deep golden brown and crispy. Place on paper towels to drain. For air frying brush each with oil then place in a preheated air fryer at four hundred degrees for eight to ten minutes flipping halfway. For oven baking brush with oil and bake at four hundred degrees for twenty to twenty five minutes turning once for even crisping.
- Serve:
- Let chimichangas rest a few minutes to set. Top with your favorite garnishes. Serve immediately for perfect crunch and gooey cheese inside.
 Bookmark
Cheddar cheese always wins me over. Its sharp edge stands up to the layers of spice and rich beef. My favorite memory was pulling a bubbling tray from the oven for a big family potluck. Watching everyone dive in for seconds made my whole week.
Storage Tips
Leftover chimichangas keep very well in the refrigerator in a sealed container for up to three days. For the best crunch, reheat in the oven or air fryer instead of the microwave. You can also prep the rolled chimichangas a day ahead, just cover and chill until ready to cook.
Ingredient Substitutions
Ground turkey, shredded chicken, or tofu all make great alternatives if you are out of beef. Skip cheese or use a dairy-free blend for a non-dairy version. Whole wheat tortillas bring nutty depth. Toss in black beans, corn, or sautéed mushrooms for extra filling and nutrition.
Serving Suggestions
Chimichangas are perfect all on their own but really shine with cool, fresh sides. Try a cabbage slaw, sliced avocado, and a lime wedge for brightness. For parties, slice them up for easy sharing.
 Bookmark
Cultural Context
Chimichangas are a true Tex Mex classic with debated roots. Some say they are a happy accident, but all agree they celebrate crunchy burrito style. They invite you to experiment with fillings and make the recipe your own every time.
Common Recipe Questions
- → How do you keep chimichangas crispy?
Drain on paper towels after frying and ensure your oil is hot enough. Avoid overfilling and fry in batches for an even golden result.
- → Can you bake or air fry instead of frying?
Absolutely. Brush with oil, then bake or air fry until crisp and golden for a lighter, still-crunchy alternative to deep frying.
- → What kind of cheese is best?
Sharp cheddar, Monterey Jack, and queso fresco or feta combine for a gooey, flavorful, and slightly tangy filling.
- → How do you prevent them from bursting?
Cool your filling before rolling, avoid overfilling, and fold tortillas securely. Toothpicks help keep them sealed during cooking.
- → Can these be made in advance?
Yes! Assemble and refrigerate, then cook just before serving for the freshest, crispest result. Leftovers reheat well in the oven.
- → What are good side dishes?
Pair with salsa, guacamole, pico de gallo, crunchy slaw, or sliced avocado for a colorful and fresh meal.