
 Bookmark
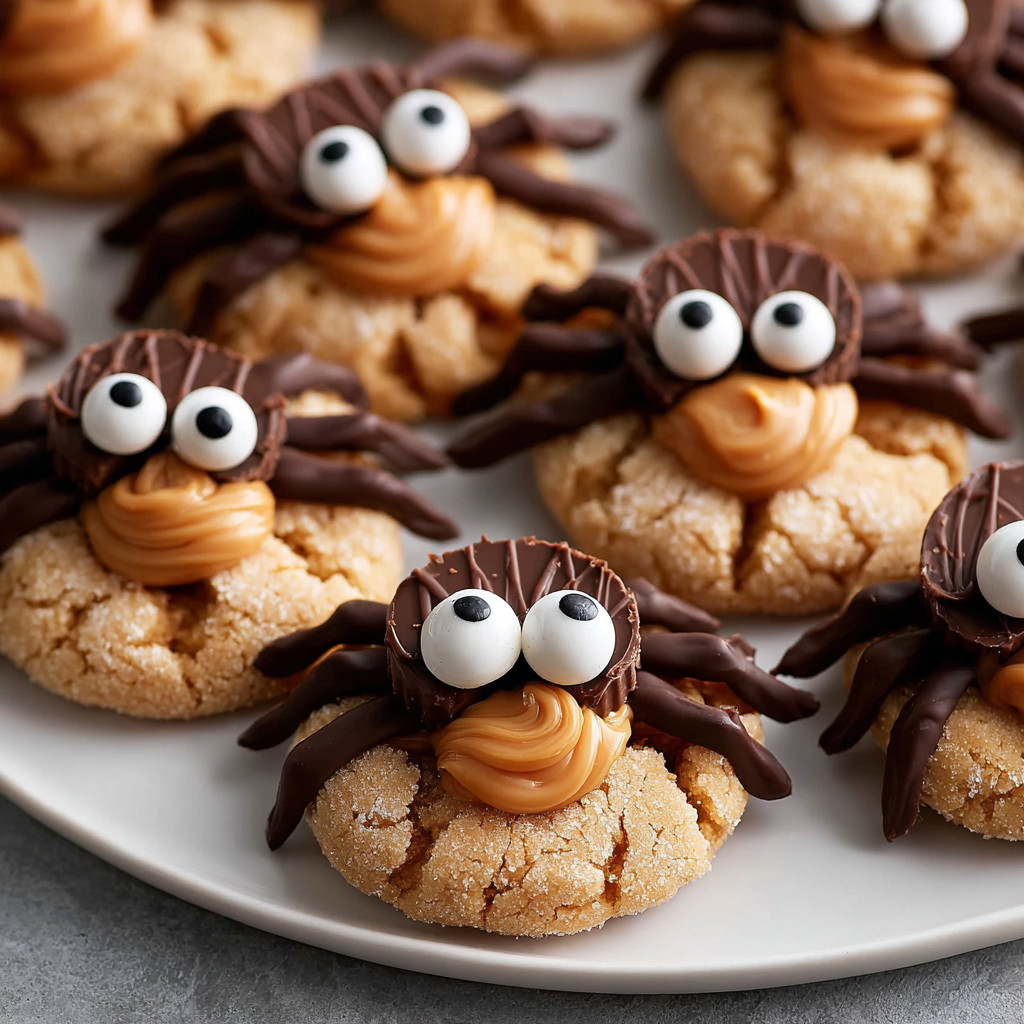
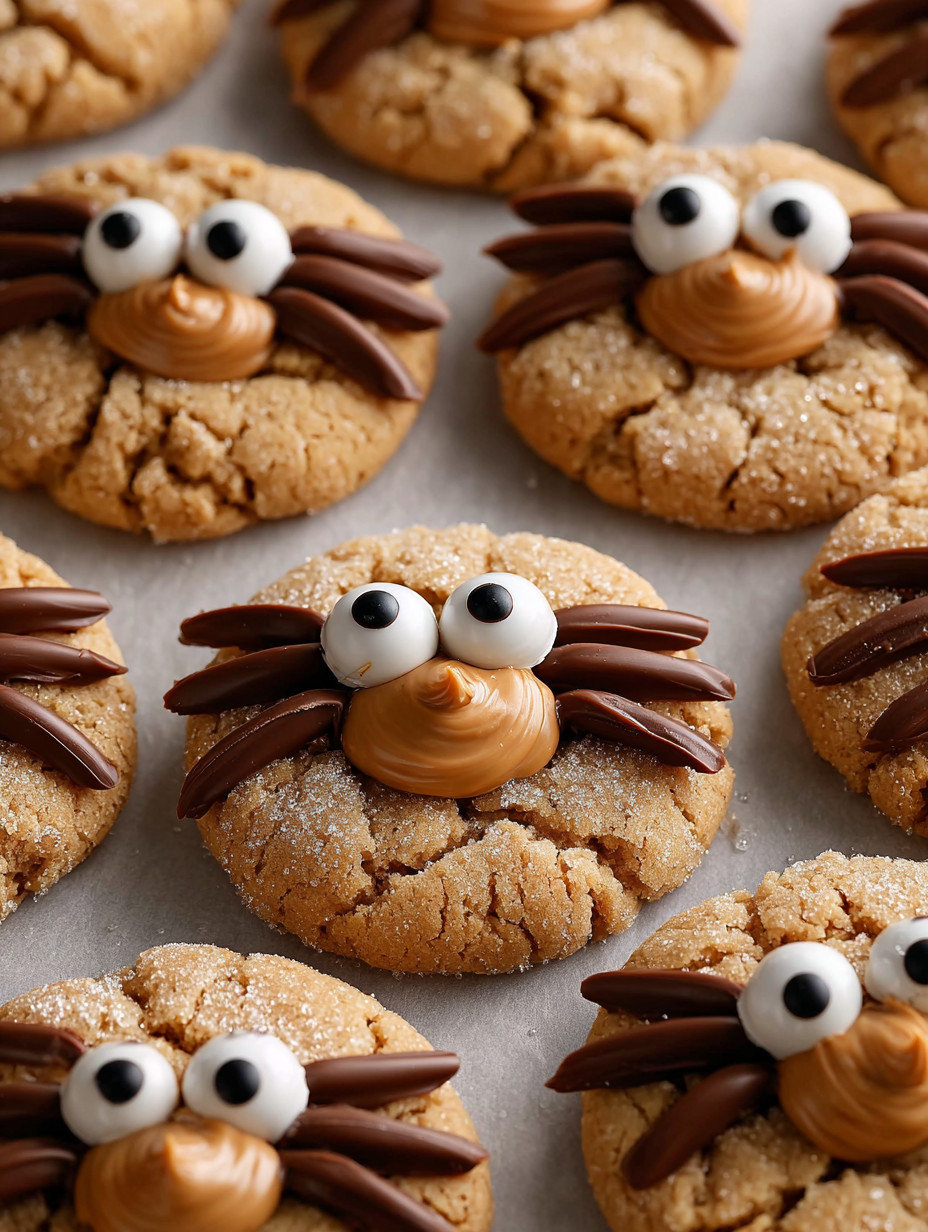
These Spider Cookies are a playful peanut butter treat that brings extra excitement to Halloween or any festive gathering. Every batch offers a perfect blend of rich peanut flavor and creamy chocolate, all dressed up like adorable spiders. Decorate them with friends or kids and watch as everyone’s creativity shines while making (and eating) these fun bites.
My family ends up laughing and inventing new spider designs each October. Every year, these cookies are the centerpiece of our Halloween dessert table, and every year they disappear twice as fast as I expect.
Ingredients
- Creamy peanut butter: adds rich flavor and keeps cookies tender choose a brand with minimal added sugar for best results
- Granulated sugar: sweetens and helps cookies get a crisp edge use extra for rolling to get that classic cookie texture
- Egg: binds the dough and gives the cookies structure fresh eggs always yield the best rise
- Chocolate melting wafers: help create the spider legs and fix the candy eyes select high-quality chocolate for the smoothest finish
- Miniature peanut butter cups: form the spider’s body aim for fresh and uncracked candies for best appearance
- Mini candy eyes: bring each spider to life pick ones without chipped paint and keep extras on hand
Step-by-Step Instructions
- Make Cookie Dough:
- Combine creamy peanut butter sugar and egg in a medium bowl stir until thoroughly combined and smooth if the mix feels too sticky cover and chill for fifteen minutes so dough is easier to handle
- Shape and Coat:
- Use a medium scoop to portion out the dough roll each into a ball then coat in extra sugar until fully covered place each ball evenly spaced on a parchment or mat lined baking sheet press gently with a fork in two directions to create a crisscross pattern
- Bake Cookies:
- Place the tray in a preheated oven set to three hundred fifty degrees and bake for about eight to ten minutes watch for lightly browned bottoms remove from oven but leave cookies on the pan for two minutes so they finish setting
- Add Peanut Butter Cups:
- While cookies are still warm gently press a peanut butter cup into the center of each cookie allow cookies to fully cool on a rack so the candies stay firm
- Decorate Spiders:
- Melt chocolate wafers in a microwave safe bowl using thirty second intervals stir until smooth pour chocolate into a zip top bag snip a small corner and carefully pipe two dots onto each peanut butter cup for the eyes attach mini candy eyes then pipe four neat legs on either side of each spider let chocolate harden completely before serving
 Bookmark
My favorite part of this recipe is attaching the eyes and legs. It sparks so much laughter with my kids especially when one cookie gets a silly or crooked face. Every year those cookies are the first to disappear.
Storage Tips
Store cookies in an airtight container at room temperature for up to five days. Stack with parchment sheets between layers to keep decorations intact. For longer keeping freeze undecorated cookies in a single layer then transfer to a sealed bag for up to three months.
Ingredient Substitutions
Swap the peanut butter for almond or sunbutter if you need a nut free or alternative flavor option. Use small chocolate coins or even truffles for the spider body if peanut butter cups are unavailable. Candy coated chocolates or mini chocolate chips make a charming substitute for candy eyes when needed.
 Bookmark
Serving Suggestions
Present your spider cookies on a platter with playful Halloween decorations or in themed cupcake liners for easy grab and go serving. Make dessert sandwiches by adding ice cream between two cookies for a sweet twist. For parties pack individual cookies in festive treat bags for delightful take home favors that guests will remember.
Cultural and Historical Context
Peanut butter cookies were first developed in the early twentieth century and became popular when home cooks started pressing them with a fork to create crosshatch patterns. Adding playful toppings and holiday themes has boosted their appeal for generations. Spider cookies are a joyful example of this tradition blending nostalgia with new creative flourishes that get the whole family involved.
Common Recipe Questions
- → What makes these cookies soft and chewy?
The creamy peanut butter combined with just the right amount of sugar and egg creates a soft, chewy texture every time.
- → Can I substitute the peanut butter for another spread?
Yes, almond or cashew butter works well if you’d like to try different flavors or need a peanut-free option.
- → How do I easily create the spider decoration?
Use melted chocolate piped from a zip-top bag to draw legs, and gently press candy eyes onto the chocolate-topped cookies while still soft.
- → What’s the best way to store leftovers?
Keep them in an airtight container at room temperature for up to five days, or freeze for longer shelf life.
- → Do I need special equipment?
A baking sheet, parchment paper, and a medium cookie scoop help create even, well-baked treats while keeping preparation simple and fuss-free.
- → Can children help with the decorating?
Absolutely! Kids love piping chocolate legs and placing the candy eyes, making it a fun, hands-on activity for all ages.