
 Bookmark
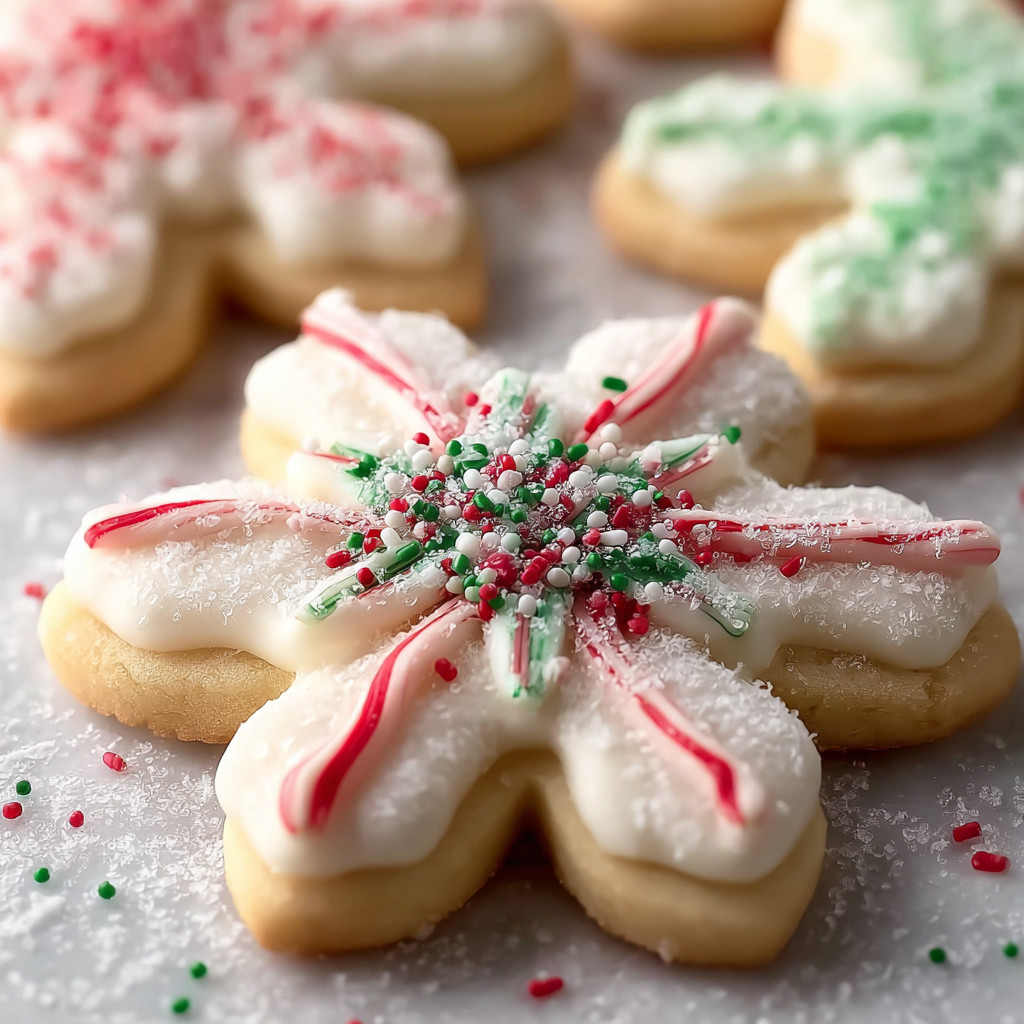
These Peppermint Snowflake Sugar Cookies bring festive magic right into your kitchen. They combine a tender, buttery base with refreshing peppermint flavor and intricate snowflake designs that make every bite feel like a holiday celebration. Whether you're craving a sweet treat or looking to create a joyful baking moment with family, this recipe fits the bill perfectly. Plus, they come together quickly so you can spend less time baking and more time enjoying the season.
Ingredients for Peppermint Snowflake Sugar Cookies
- All-purpose flour: This provides the structure and softness you want in holiday cookies Bake with a high-quality unbleached flour for better texture
- Baking powder: A leavening agent that helps the cookies rise gently
- Salt: Just a pinch to balance out the sweetness
- Unsalted butter: Use softened butter at room temperature for rich flavor and tender crumb
- Granulated sugar: This sweetens the dough and helps create a lightly crisp edge
- Large egg: Acts as a binder and adds moisture
- Vanilla extract: A classic flavor enhancer that rounds out the sweetness
- Peppermint extract: This is the star flavor that gives the cookies their festive holiday note
- Milk: Add as needed to bring the dough to the perfect consistency
- Powdered sugar: Used for making smooth icing
- Gel coloring: Optional but white gel coloring brightens the icing for a pristine snowy look
- Red and green gel icing: Perfect for adding cheerful holiday decorations
- Crushed peppermint candies or sanding sugar: Adds a sparkling crunch and festive flair on top
How to Make Peppermint Snowflake Sugar Cookies
- Prepare the Dough:
- Begin by whisking together the all-purpose flour baking powder and salt in a large bowl to ensure even rising and seasoning. In another bowl beat the softened unsalted butter with granulated sugar for about two minutes until the mixture is light and fluffy. This step is crucial to get that tender cookie texture. Then mix in the large egg vanilla extract and peppermint extract. The aroma at this stage is wonderfully festive.
- Chill the Dough:
- Divide the dough into two equal portions and shape each into a disc. Wrap them tightly in plastic wrap and chill in the fridge for at least one hour. This chilling step helps the cookies hold their shape during baking and makes rolling easier. It is well worth the wait for perfectly formed snowflakes.
- Roll and Cut the Cookies:
- Preheat your oven to 350 degrees Fahrenheit or 175 degrees Celsius. On a lightly floured surface roll out one disc of dough to about a quarter inch thickness. Use snowflake cookie cutters to cut out shapes and place them on a parchment-lined baking sheet leaving space between each cookie for spreading.
- Bake the Cookies:
- Bake the cookies for eight to ten minutes just until they are set with pale edges. Watch them closely as they can brown quickly. Once baked transfer them to a wire rack and allow to cool completely before icing.
- Prepare the Icing:
- Mix powdered sugar milk vanilla extract and peppermint extract together until you have a smooth spreadable consistency. Adjust thickness by adding more milk or powdered sugar as needed.
- Decorate the Cookies:
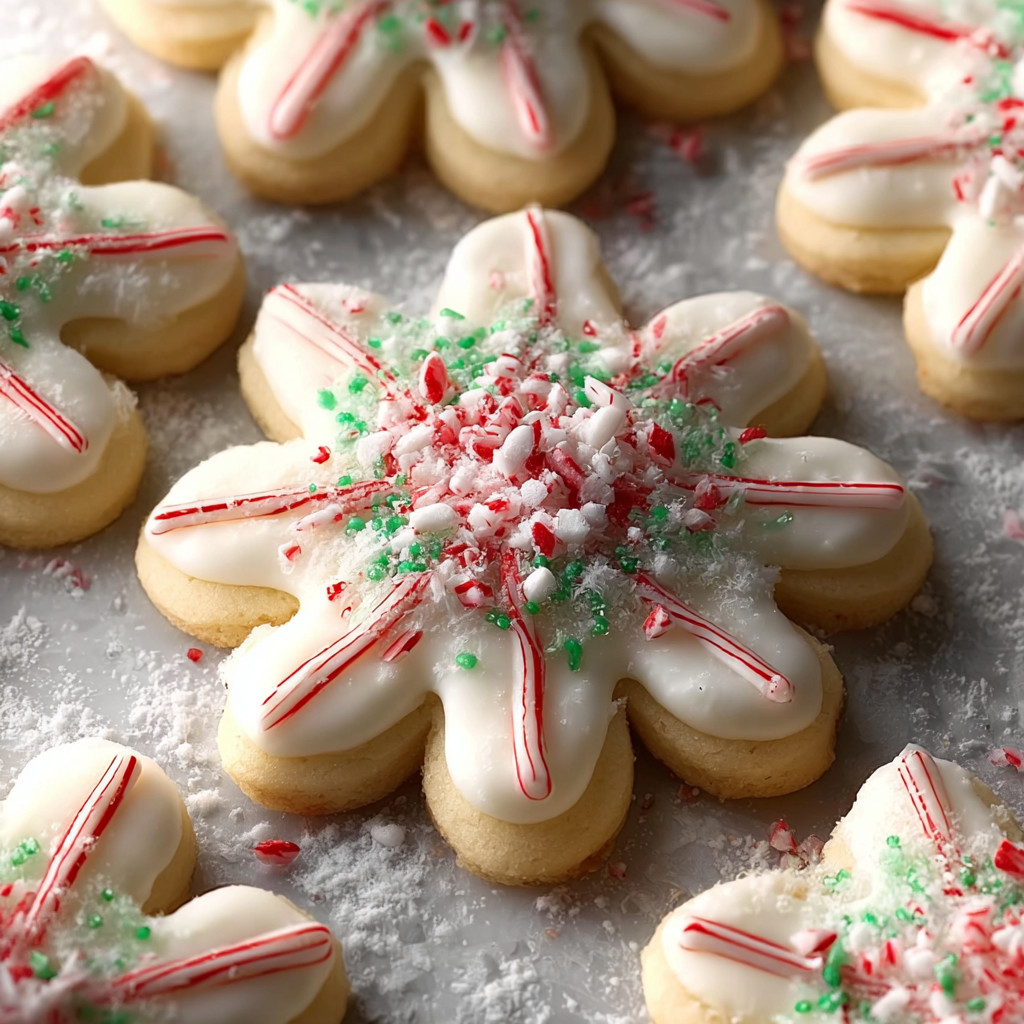
- Spread or pipe the icing onto cooled cookies. Use red and green gel icing for decorative snowflake patterns. A toothpick is great for dragging icing outward to create intricate designs. Finish with a sprinkle of crushed peppermint candies or sanding sugar for sparkle and crunch.
 Bookmark
Storage Tips
Store baked cookies in an airtight container at room temperature to keep them soft and fresh for up to a week. To freeze lay cookies in layers separated by parchment paper inside a freezer-safe container. Thaw at room temperature before decorating or serving.
Ingredient Substitutions
For a gluten-free option swap all-purpose flour with a gluten-free blend that contains xanthan gum to maintain cookie texture. Vegan bakers can replace the egg with a flax egg and use vegan butter for a plant-based version. If you do not have peppermint extract try almond or orange extract for a unique but delightful twist.
Serving Suggestions
Serve these cookies beside a cup of hot chocolate for a classic cozy combo. Arrange cookies on a decorative platter dusted with powdered sugar to mimic fresh snow. They also make sweet homemade gifts when packaged in a festive box tied with a ribbon.
Cultural and Historical Context
Sugar cookies have roots that trace back to early European settlers in America. Traditionally simple and lightly sweetened they evolved to become holiday favorites decorated with festive themes. Peppermint as a flavor is strongly associated with holidays partly due to the use of candy canes and its wintery refreshing taste that pairs perfectly with sweet baked goods. Decorating cookies together is more than fun it’s a timeless way to bring people together and celebrate the season.
Common Recipe Questions
- → Can these peppermint snowflake cookies be prepared ahead?
Yes, the dough can be made in advance and chilled up to three days. Once baked, cookies keep fresh up to a week in an airtight container.
- → What alternatives exist for peppermint extract?
Vanilla or almond extracts make good substitutes, offering a different but delicious flavor profile.
- → How should the cookies be stored to maintain freshness?
Store them at room temperature in an airtight container. For longer storage, freeze with parchment layers to prevent sticking.
- → Is it possible to decorate the cookies in advance?
While icing is best applied after cooling, you can prepare some decorations ahead and assemble on the day of serving to keep designs crisp.
- → How to achieve smooth, spreadable icing consistency?
Begin with a small amount of milk, adding gradually until smooth. If too thin, add powdered sugar to thicken for easy piping or spreading.