
 Bookmark
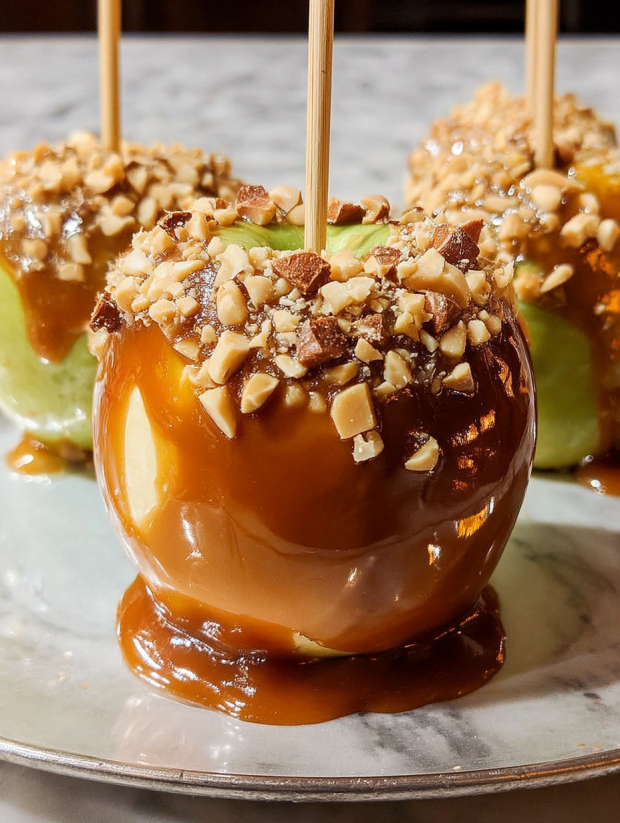
Nothing says fall festivity like a fresh batch of homemade caramel apples. This process strikes that ideal balance between rich gooey caramel and crisp tart fruit. If you have ever watched your caramel seize or slide off the apple skin you will find all the practical details and tips here for dunking your apples like a pro and creating a treat that feels as magical as autumn itself.
My first caramel apple attempt resulted in more candy stuck to the pot than the fruit but after a few tries and testing different apple types my whole family waits for caramel apple day every October. Dipping and decorating together always leads to sticky laughter and cozy memories.
Ingredients
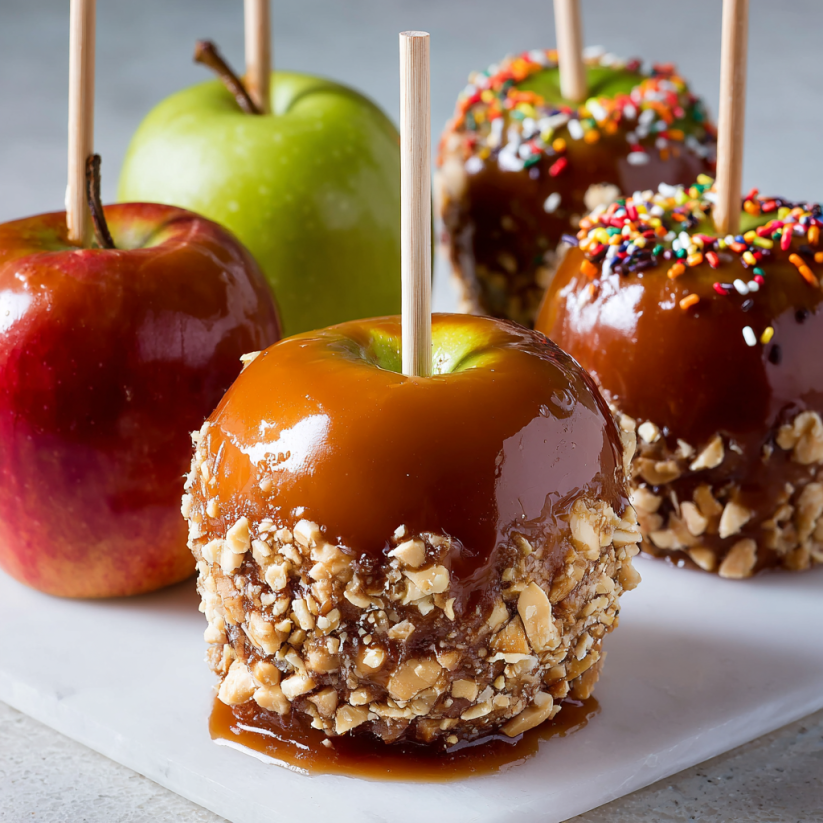
- Apples: Granny Smith or any tart crisp apple These hold up to the caramel and deliver a perfect sweet tart bite Select firm fruit with no bruises or soft spots
- Granulated sugar: The base of your caramel Go for fresh dry sugar so it melts evenly without clumping
- Light corn syrup: Prevents crystallization in your caramel and keeps it silky Make sure it is clear and clean tasting
- Kosher salt: A pinch sharpens and balances the sweetness Use a finer grind if you want it to dissolve quickly
- Heavy cream: Gives the caramel its luscious texture Use fresh full fat cream for the richest result
- Unsalted butter: Adds flavor and helps with the creamy chew Pick a quality brand for the best finish
- Toppings: Crushed nuts candies or sprinkles Offer a mix so each apple can be customized to taste Chop nuts or cookies finely so they coat smoothly
- Sturdy sticks: These keep your apples upright and are essential for dipping Wooden craft sticks or natural branches work well
Step-by-Step Instructions
- Prepare and Clean Apples:
- Boil a large pot of water and set up a bowl of ice water nearby Once boiling submerge the apples for thirty seconds to loosen wax then transfer to the ice bath for two minutes Finish by drying each apple extremely well with a paper towel so caramel can stick
- Stem and Skewer:
- Remove apple stems by twisting or using a tool Insert a sturdy stick straight into the core so the apple stands upright Place apples in the fridge to chill which helps set the caramel later
- Cook the Caramel:
- In a heavy saucepan combine sugar corn syrup salt and a quarter cup water Heat over medium high stirring with a spatula until it boils then stop stirring and cook undisturbed until the color deepens to copper and the temperature reads three hundred fifty degrees
- Add Cream and Butter:
- Take the pot off heat Pour in the heavy cream slowly being careful as it will bubble Stir in the butter until the caramel is glossy and smooth
- Final Cook for Chewiness:
- Put the pot back on medium high heat Stir every now and then until the caramel reaches two hundred forty five degrees for a chewy finish Remove from heat and pour caramel into a bowl that fits the apple for easy dipping Allow it to cool and thicken for fifteen to twenty minutes
- Dip and Decorate:
- Stir the caramel well just before dipping Dip one apple at a time rolling to coat evenly and letting excess drip off Briefly tap the apple against the bowl’s side so there is no thick puddle at the bottom
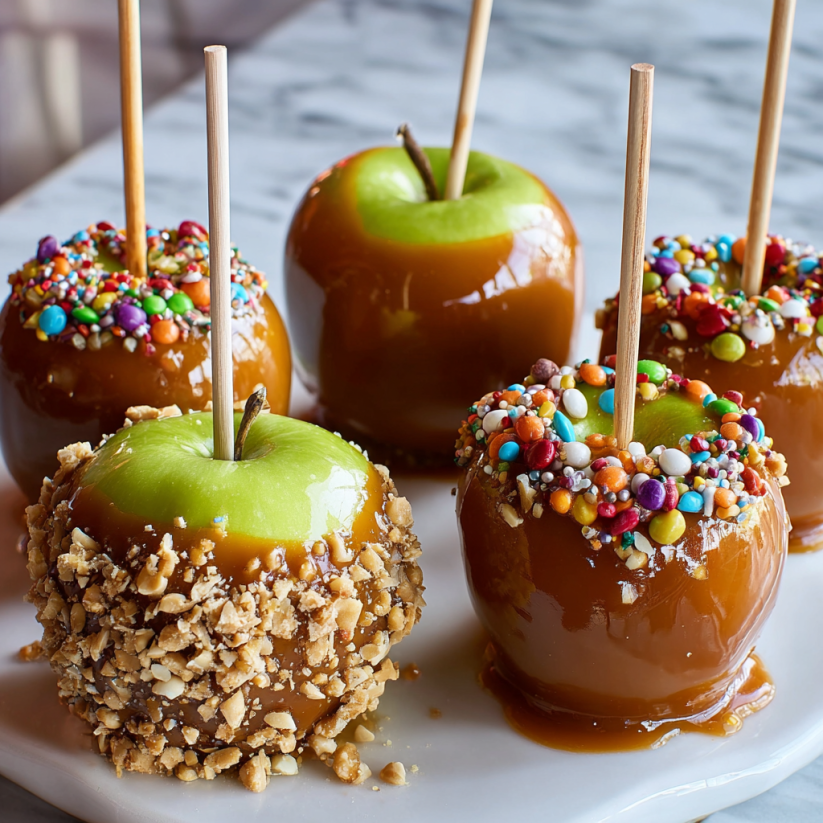
- Coat in Toppings:
- While caramel is still sticky roll the apple in your chosen toppings pressing gently so they adhere Arrange each coated apple on a serving platter ready to enjoy
 Bookmark
The satisfying crunch of tart apple with warm caramel chew makes this a classic that invites all sorts of creative spins My favorite is to use finely chopped peanuts which remind me of local fall fairs and sharing apples with my cousins each year These apples have become such a tradition that the smell of melting sugar instantly brings me back
Storage Tips
You will get the best results if you store caramel apples uncovered in the fridge This prevents the caramel from getting wet or sticky Let them come up to room temperature for about twenty minutes before serving for the best texture If you need them to last for a party make them no more than two days ahead or the caramel can start to slide
Ingredient Substitutions
Granny Smith apples are classic but Honeycrisp or Pink Lady also hold up If you are out of corn syrup honey can substitute though your caramel may be a touch softer For toppings go beyond nuts and chocolate try coconut flakes toffee bits or sesame seeds
Serving Suggestions
Caramel apples are a fun centerpiece for a fall dessert board Slice them just before serving for easy sharing or package individually in cellophane as take home treats Try serving with hot cider or a spiced cocktail to round out the cozy mood
 Bookmark
Cultural and Historical Context
Caramel apples date back to early twentieth century USA when creative confectioners began coating the autumn apple harvest in hard and soft candies Each region has variations from salted caramel to maple coatings and every family seems to have their own favorite twist As Halloween and harvest festivals grew in popularity so did these cheerful sticky treats
Common Recipe Questions
- → What’s the best type of apple to use?
Tart apples like Granny Smith offer a refreshing contrast to the sweet caramel, but any crisp apple will work well.
- → How can I get the caramel to stick to the apples?
Remove any wax from the apple skins by dipping them briefly in boiling water and drying thoroughly before coating.
- → How do I prevent the caramel from crystalizing?
Add corn syrup and avoid stirring once the mixture boils. If crystals form, add water a spoonful at a time and dissolve gently.
- → Do I need a candy thermometer for making caramel?
While you can use color as a guide, a thermometer ensures you reach the perfect setting temperature without burning the caramel.
- → What are some popular toppings?
Crushed peanuts, mini candies, or sweet crushed cookies add texture and flavor. Let your creativity shine with your favorites.
- → How should I store caramel apples?
Store uncovered in the refrigerator for up to three days. Set out briefly before eating so the caramel softens slightly.